Painting Tips That Deliver Flawless Results
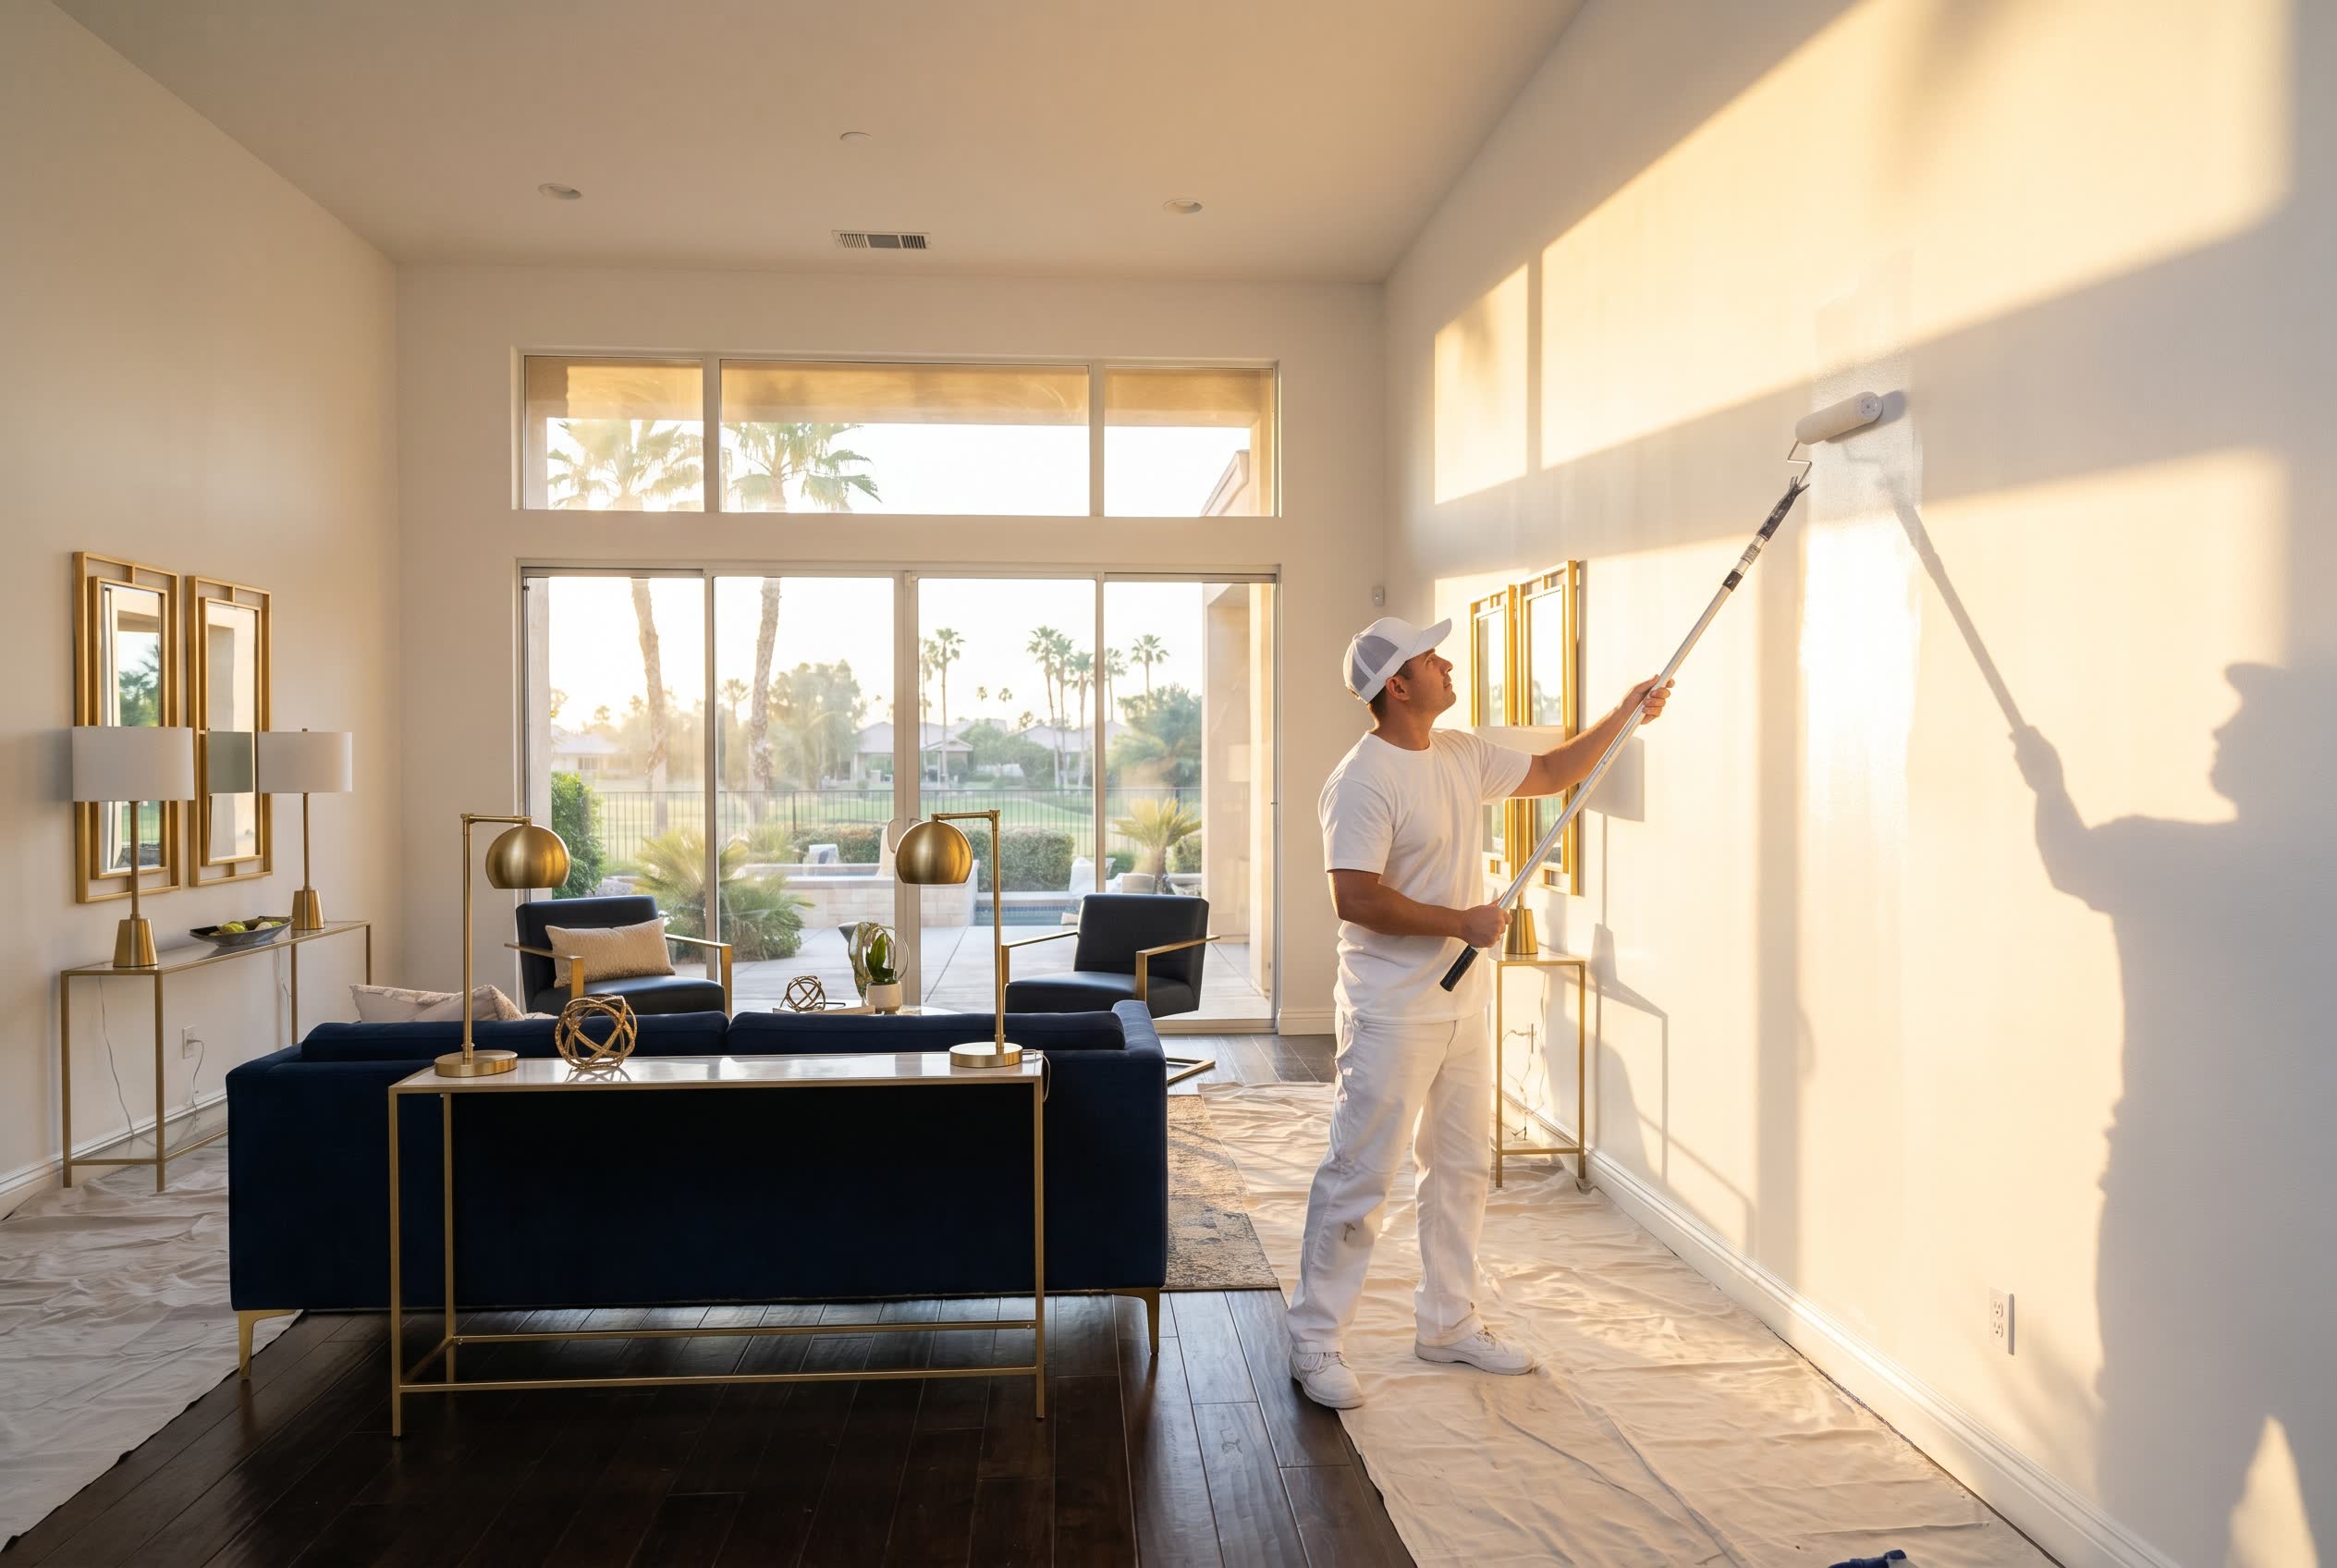
Whether you're refreshing a single room or tackling a whole-house repaint, the right painting tips can mean the difference between a pristine finish and a costly do-over. Painting is one of the most impactful upgrades you can make - it transforms any room for a fraction of a renovation budget. But achieving flawless results starts long before you open a can of paint.
At JPL Painting, we've helped hundreds of New Smyrna Beach homeowners get beautiful, lasting finishes. Along the way, we've learned exactly which techniques separate a premium job from a weekend disappointment. In this guide, we're sharing our best painting tips so you can tackle your next project with confidence - or call a painting team that already knows how to deliver.
The truth is, great results come from preparation, the right tools, and proven technique. From sheen selection to roller method, these tips help you work smarter, not harder.
Need a Professional Paint Job in New Smyrna Beach?
Get a free, no-obligation quote from our 5-star rated team.
(386) 576-4730Must-Have Supplies for Your Paint Project
Every successful project begins with the right tools. Skimping on supplies is one of the fastest ways to end up with streaky walls, drips, and a finish that chips early. Here's what you need before you start:
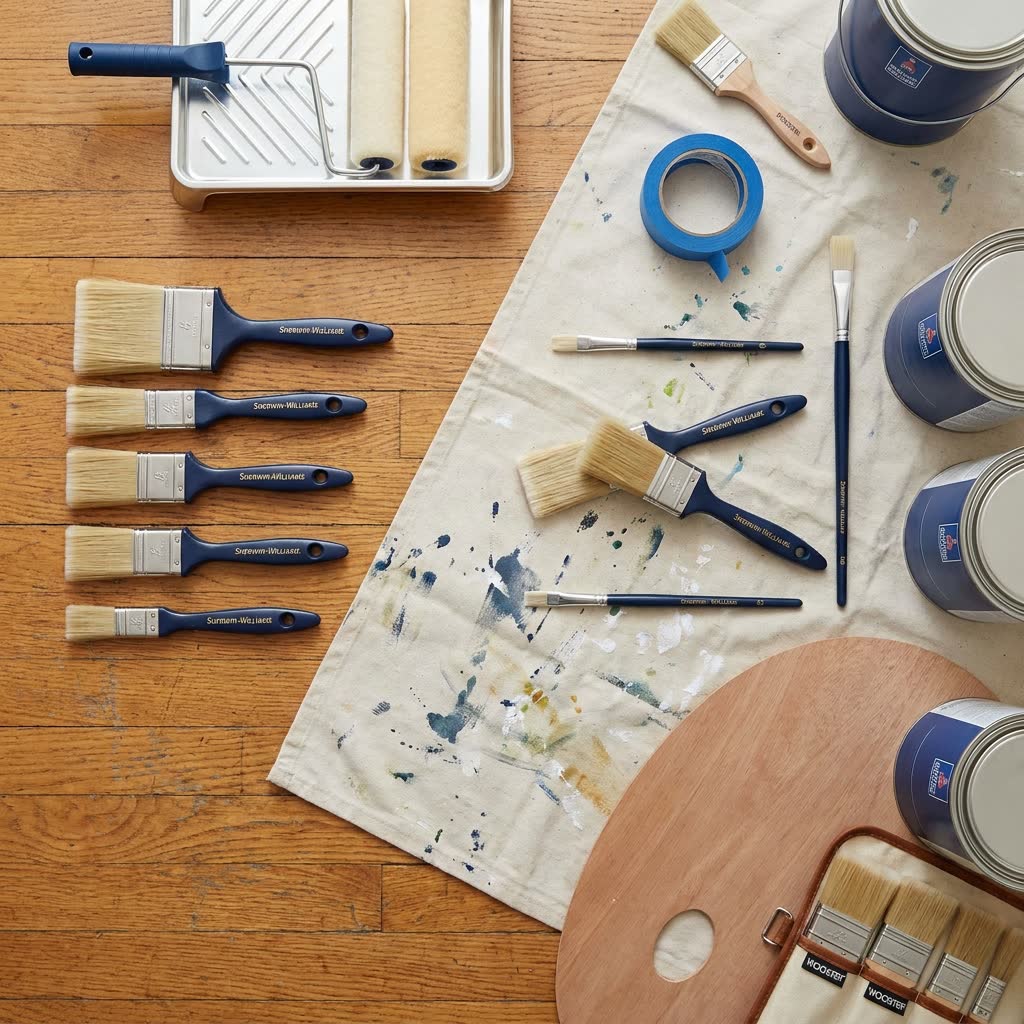
The Essentials
- Canvas drop cloth - Plastic shifts underfoot and doesn't absorb spills. Canvas catches drips and gives you a stable surface to work on.
- Painter's tape - Not masking tape. Painter's tape releases cleanly without lifting existing paint.
- Angled sash brush - A 2-inch nylon-polyester blend handles both latex and oil-based products with precision.
- 9-inch roller with extension pole - Covers large surfaces fast. Match nap thickness to your wall texture.
- Roller tray with disposable liners - Saves cleanup time and distributes product evenly on the roller cover.
- High-quality primer - Never skip this step. Primer ensures adhesion, blocks stains, and reduces the number of topcoats needed.
- Paintable caulk - Seal gaps between trim and walls before you start. From prep to perfection - that's how we approach every job at JPL.
Choosing the Right Paint Sheen for Every Room
Your sheen choice affects how the room looks, how easy it is to clean, and how well it hides surface imperfections. Here's a straightforward guide for Florida homeowners:
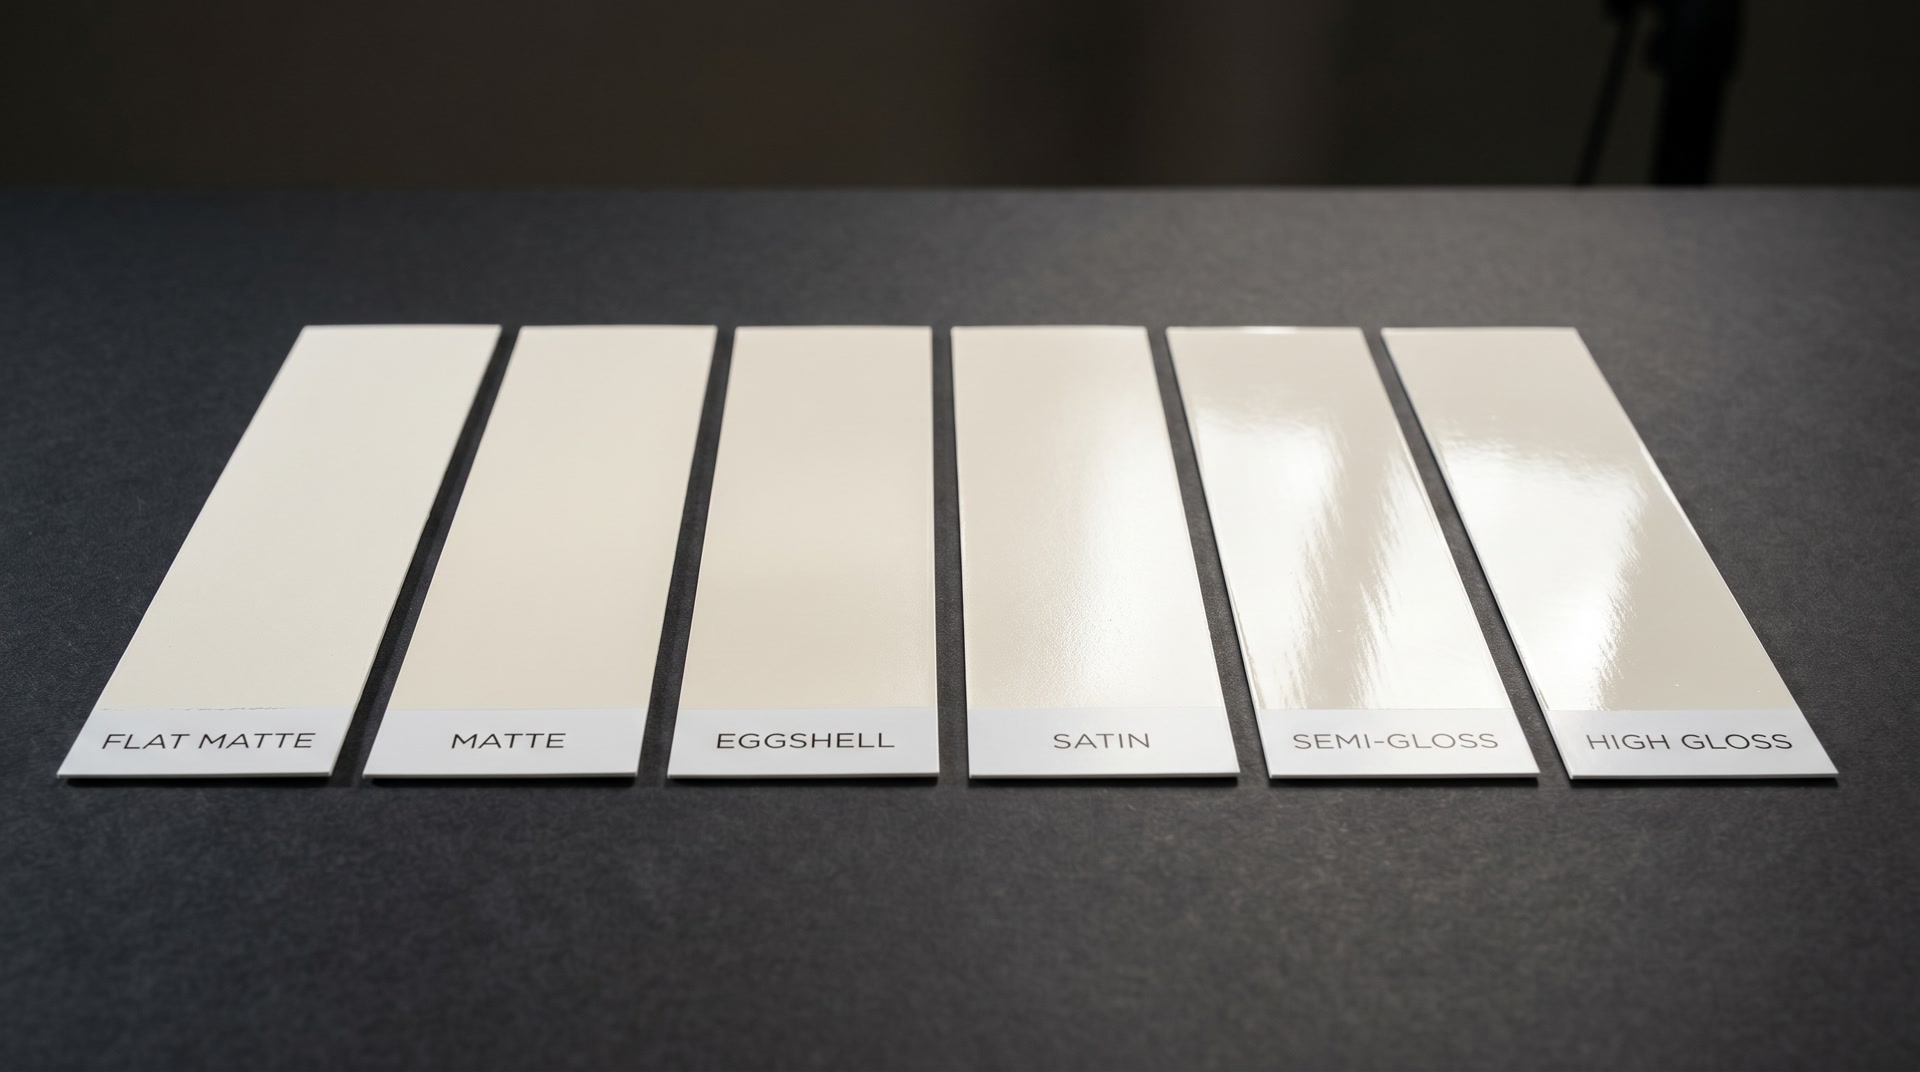
Sheen Guide
- Flat/Matte - Zero sheen. Hides imperfections beautifully but shows scuffs. Best for ceilings and low-traffic rooms.
- Eggshell - Subtle sheen with a velvety look. The most popular choice for living rooms, bedrooms, and hallways.
- Satin - Medium sheen with a pearl-like finish. Great for high-traffic areas and interior trim.
- Semi-Gloss - Noticeable shine. Ideal for kitchens, bathrooms, doors, and cabinets.
- High Gloss - Maximum durability and shine. Used for doors, trim, and furniture. Shows every surface flaw.
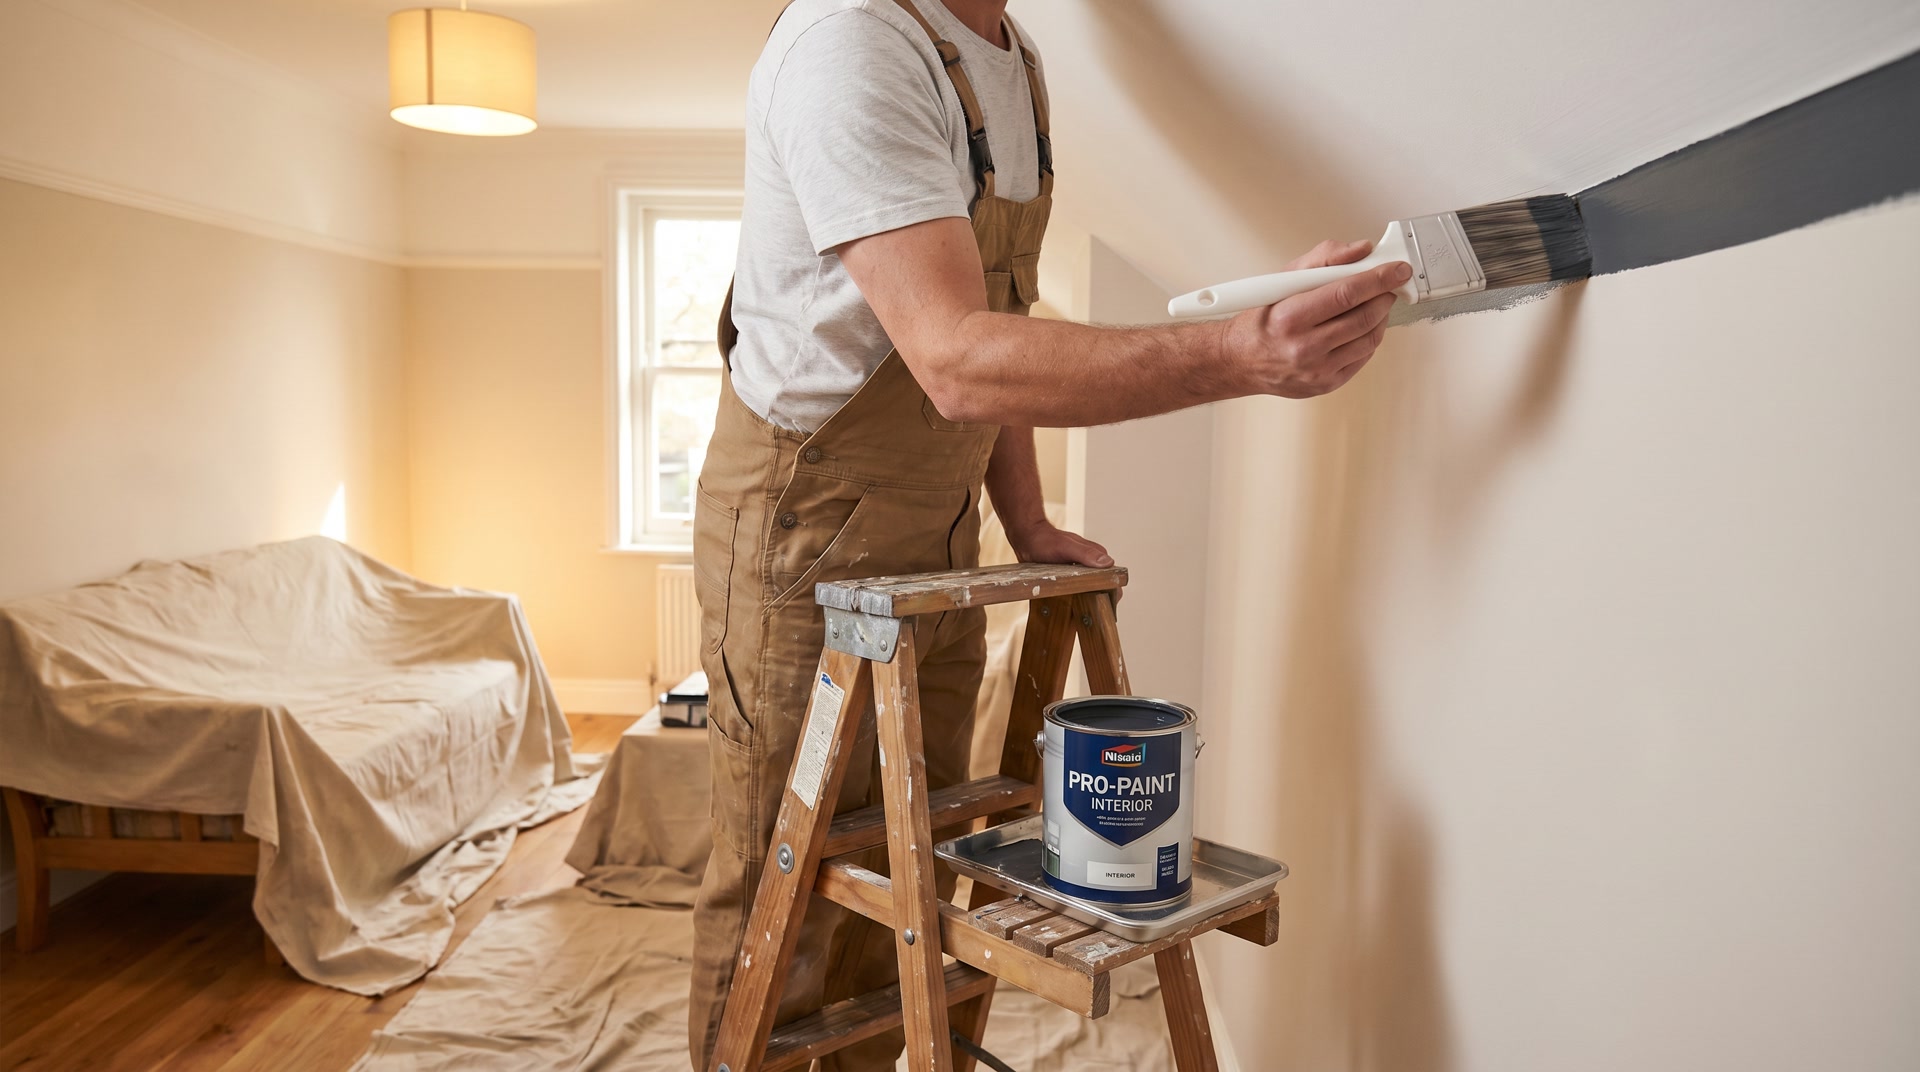
The 80/20 Rule: Why Prep Determines Your Results
If there's one painting tip that separates beginners from pros, it's this: 80% of your results come from 20% of your effort - and that 20% is the prep work. Sanding, patching, caulking, taping, and priming are the tasks that determine whether your finish looks professional or amateur.
Here's what Proper surface preparation involves:
- Clean the surfaces - Wash with TSP or a degreasing cleaner. Product won't adhere to dust, grease, or soap residue.
- Patch holes and cracks - Spackle for small holes, joint compound for larger repairs. Sand smooth once dry.
- Light sanding - A 120-150 grit scuff sand gives primer something to grip.
- Caulk gaps - Run a bead of paintable caulk along baseboards, crown molding, and window casings.
- Prime everything - Even "paint and primer in one" products benefit from a dedicated primer coat.
- Tape with care - Apply painter's tape in straight lines, pressing the edge down firmly with a putty knife.
Skip the Prep Work - Let Us Handle It
Our team handles all surface prep, priming, and finishing with premium-grade care.
Interior Painting ServicesFlorida-Specific Tips for New Smyrna Beach Homes
Living in New Smyrna Beach means your home faces high humidity, salt air, intense UV, and tropical storms. Here's how to adapt your approach for Florida's conditions:
- Mildew-resistant products - Florida humidity breeds mold fast. Look for formulas with built-in mildewcides.
- Satin or semi-gloss in wet areas - Higher sheen finishes wipe clean and resist moisture effectively.
- Timing matters - The best season for interior work in Volusia County is late fall through spring, when humidity drops.
- Latex for flexibility - Water-based products expand and contract with temperature swings better than oil-based alternatives.
- Re-seal gaps annually - Florida homes settle and shift. Fresh caulk prevents moisture intrusion.
- Never skip primer - A quality primer blocks tannin bleed and seals water stains. Non-negotiable in Florida.
Florida's Climate is Tough on Paint - We Know How to Handle It
Locally owned in New Smyrna Beach. We understand the coast.
(386) 576-4730Cutting In: The Skill That Sets Pros Apart
Cutting in is the technique of painting a clean edge where walls meet ceilings, trim, or corners - without using tape. It's the single skill that distinguishes experts from amateurs, and with practice, it delivers cleaner lines than taping ever can. These pro techniques for cutting in will transform your edges:
How to Cut In Like a Pro
- Load the brush correctly - Dip your angled sash brush about one-third of the way in. Tap (don't wipe) against the inside of the can to remove excess.
- Start away from the line - Begin your stroke about a quarter inch from the edge. Then, in one smooth motion, ease the brush toward the line, letting the bristle tips create the edge.
- Use the full bristle length - Press gently so the full width of the bristle fans out against the surface.
- Work in 2-3 foot sections - Cut in one section at a time, then immediately roll the adjacent area. This "wet edge" technique eliminates visible brush marks.
- Steady your hand - Rest your pinky against the surface for stability. Breathe out as you make your stroke.
Roller Techniques for a Smooth, Even Finish
Once you've cut in, it's time to roll. The roller is your workhorse - it covers large areas fast and, when used with proper technique, delivers a smooth, even finish. But there's more to rolling than just pushing product around.

Step by Step
- Load the roller evenly - Dip into the tray, then roll back and forth on the grid several times. The cover should be evenly coated, not dripping.
- Use the W pattern - Roll a 3-foot W or M shape on the wall, then fill it in without lifting the roller. This distributes product evenly.
- Maintain a wet edge - Always overlap your previous stroke by about 50%. Critical for water-based products, which dry fast.
- Final pass top to bottom - On your last pass, roll lightly from top to bottom without lifting. This eliminates stipple lines.
- Don't press hard - Let the roller do the work. Pressing creates streaks and spatter. If the roller makes a hissing sound, it's too dry - reload.
Common Mistakes to Avoid
After years of painting tips consultations and hands-on work in New Smyrna Beach, here are the mistakes we see most often:
- Skipping surface prep - The #1 mistake. No amount of quality product compensates for a dirty, damaged surface.
- Using budget tools - Low-quality brushes and rollers leave bristles, lint, and streaks. Invest in quality supplies.
- Applying product too thickly - Thick coats drip, sag, and take forever to dry. Two thin coats always beat one thick one.
- Ignoring temperature and humidity - Water-based products need temperatures between 50-85°F and humidity below 85%.
- Removing tape after drying - Always remove painter's tape at a 45-degree angle while the finish is still slightly wet.
- Not priming - Even "paint and primer in one" products benefit from a dedicated primer coat.
Avoid These Mistakes - Hire JPL Painting
We prep, prime, and finish right the first time. Serving New Smyrna Beach and Volusia County.
Our Painting ServicesWhen to Call a Professional Painting Team
While painting tips can help with small projects, some situations call for professional expertise:
When DIY Makes Sense
- Small rooms or single accent walls (see our accent wall painting page)
- You have time and patience for proper preparation
- Budget is the primary concern
When to Hire Professionals
- Whole-house repaints or large spaces
- High ceilings, stairwells, or hard-to-reach areas
- Surfaces requiring extensive repair
- Cabinet painting requiring a factory-finish appearance
- Exterior work in Florida's challenging climate
Professional painters like JPL Painting bring experience, proper equipment, insurance, and a warranty. For our cabinet painting clients, the pristine finish we deliver simply isn't achievable with DIY methods. And for color consultation, having an expert eye saves you from expensive color mistakes.
The best painting tips in the world can't replace years of hands-on experience. When you want results that last - Clean. Precise. On Time. - that's the JPL promise. Call us at (386) 576-4730 for a free estimate.
Frequently Asked Questions
The 80/20 rule means 80% of your results come from 20% of your effort - specifically, the prep work. Spending time on surface preparation, including sanding, patching, priming, and taping, determines the quality of your final result. Rushing through prep is the most common mistake homeowners make. At JPL Painting, we often spend more time on prep than on application - and that's exactly why our finishes look flawless.
Use painter's tape along the ceiling edge, press it down firmly with a putty knife to seal it, then cut in with an angled sash brush. Remove the tape at a 45-degree angle while the finish is still slightly wet for the cleanest line. For our ceiling painting clients in New Smyrna Beach, we use a hybrid approach: tape as a guide, then precision cutting below it.
The most common mistakes include skipping surface preparation, using low-quality tools, applying product over damp surfaces, not using painter's tape correctly, applying too thickly, ignoring humidity and temperature, failing to prime, and removing tape after the finish has dried. Each of these is avoidable with the right approach and patience during prep.
Most interior projects require two coats over a properly primed surface. However, dramatic transformations (light over dark or vice versa), high-sheen finishes, or lower-quality products may require a third coat. Always apply thin, even coats rather than one thick one - the result is smoother and more durable.