
Last Updated: July 5, 2026
Living in New Smyrna Beach means we enjoy ocean breezes, sunny days, and year-round warmth. But our Florida humidity brings one stubborn guest into many homes - mold. If you spotted fuzzy patches on a wall, you probably wondered, "can you paint over mold?" The short answer is no. Painting over active mold hides the problem and makes it worse. At JPL Painting, we help Volusia County homeowners tackle mold the right way before we open a paint can. Let us walk you through the honest answer, the real risks, and the proper steps to get a clean, lasting finish.
Table of Contents
- The Short Answer: Can You Paint Over Mold?
- Why Painting Over Existing Mold Always Fails
- Health Risks: Black Mold and Mold Toxicity
- Proper Mold Removal Steps Before You Paint
- Treating the Surface: Cleaning and Killing Mold
- Using a Mold-Killing Primer Like Kilz
- Choosing the Right Mold-Resistant Paint
- Florida-Specific Mold Prevention Tips
- When to Call a Professional for Mold Remediation
- Frequently Asked Questions
The Short Answer: Can You Paint Over Mold?
Here is the truth we tell every homeowner who calls. You cannot paint over active, living mold and expect good results. The mold keeps growing underneath. Within weeks, dark spots bleed through your fresh coat. The paint bubbles, peels, and flakes off.
We get why people try it. You want a fast fix. You want that wall to look pristine again. But painting over mold is like putting a bandage on an infection without treating it first. The problem just went hidden.
The only time you can paint over a surface that had mold is after you kill mold completely and remove every trace. Once the wall is clean, dry, and primed properly, your paint will hold. That is the difference between a lasting finish and a wasted weekend.
Why Painting Over Existing Mold Always Fails
Mold is a living organism that feeds on organic material and thrives in damp conditions. When you slap paint over existing mold, you give it a fresh food source - the paint itself.
Paint traps moisture against the surface, keeping the colony alive. The mold spreads wider and deeper behind the paint layer. Soon the paint loses adhesion and pulls away from the wall.
Mold sends roots called hyphae into porous materials like drywall and wood. Painting over the surface does nothing to those roots. They keep growing, breaking down your wall material from the inside.
Here in Florida, our coastal moisture makes this worse. Salt air, storm humidity, and constant dampness feed mold fast. A painted-over patch becomes a full wall problem in one humid season. That is why we never skip cleanup on any interior painting project.
Health Risks: Black Mold and Mold Toxicity
Mold is not just an eyesore. It is a real health concern. Certain strains, especially black mold, release spores into the air you breathe every day. These spores trigger allergic reactions, asthma attacks, and respiratory irritation.
Children, older adults, and anyone with a weak immune system face higher risk. Symptoms include coughing, sneezing, itchy eyes, and headaches. Long exposure can cause more serious breathing problems.
When you paint over mold, you do not stop the spores from spreading. The colony keeps releasing them behind the paint. Your indoor air quality drops even though your walls look fine.
That is why proper mold remediation matters. You need to remove the source, not just cover it. We always ask homeowners about health symptoms when they call. Your family's safety comes before any paint color choice.
Proper Mold Removal Steps Before You Paint
You need a clean surface before painting. Mold removal comes first, always. Here is the process we follow.
- Find the moisture source. Mold grows where water feeds it. Fix leaks and dry the area.
- Wear protective gear. Put on gloves, goggles, and an N95 mask before you touch any mold.
- Scrub with a cleaning solution. Use bleach, vinegar, or a commercial mold cleaner on hard surfaces.
- Remove damaged material. Porous materials like drywall may need cutting out. Our drywall repair team handles this seamlessly.
- Dry the area fully. Run fans and a dehumidifier for at least 48 hours after cleaning.
- Vacuum with HEPA filtration. This captures loose spores from the air and surfaces.
- Inspect again. Look for any remaining stains before moving to primer.
Skipping any step invites the mold back. We have seen too many DIY jobs fail because someone rushed cleanup. Take your time, or call our team to handle it.
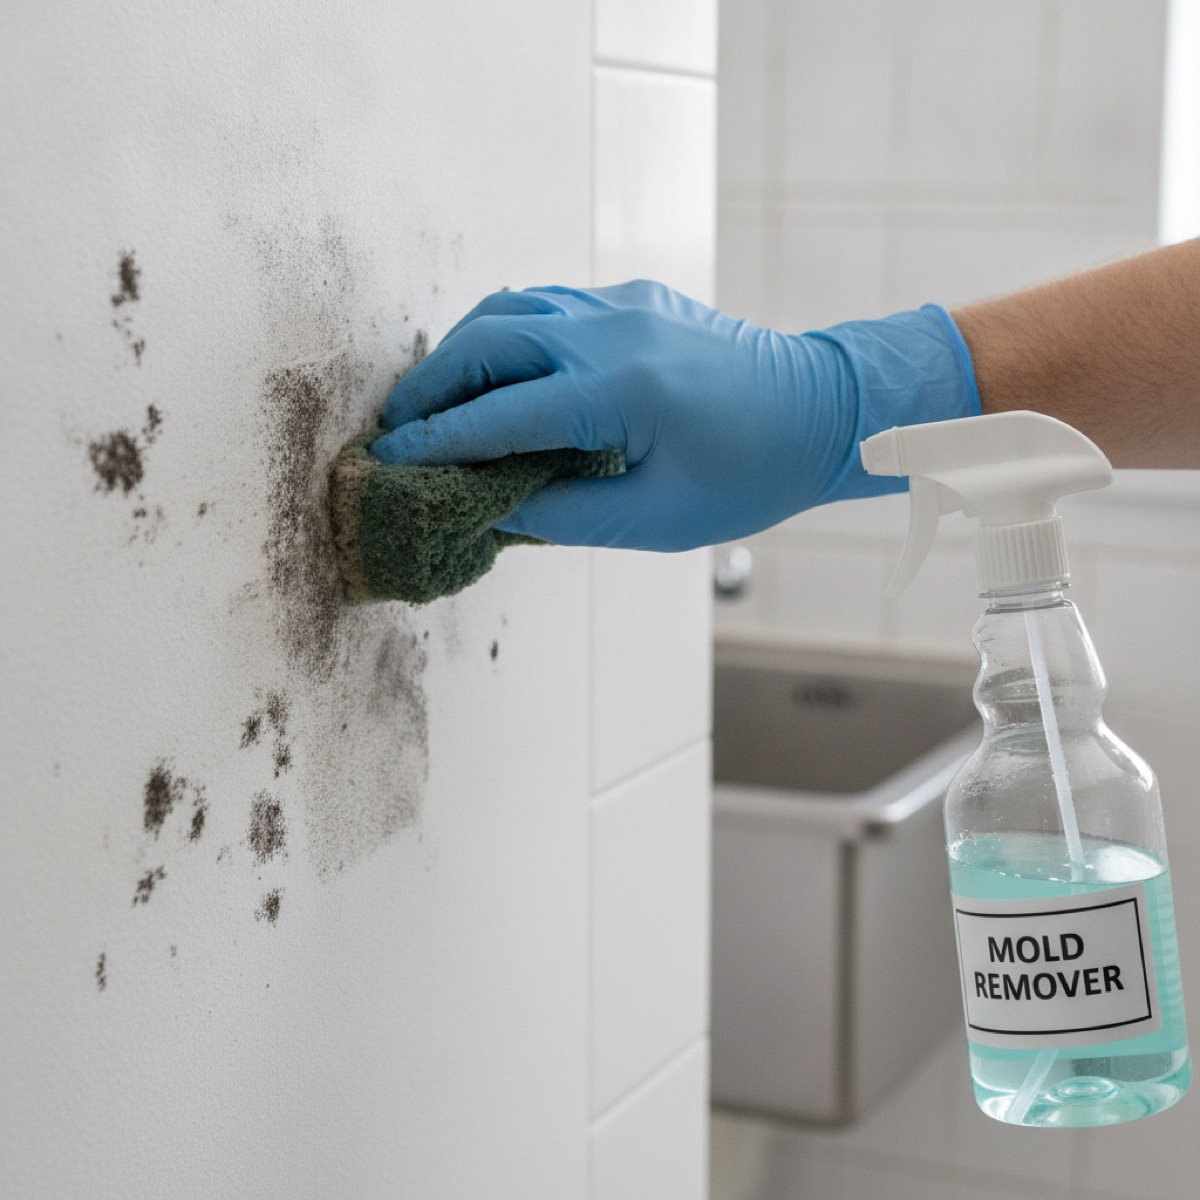
Treating the Surface: Cleaning and Killing Mold
Cleaning is where most homeowners go wrong. You need to kill mold at the root, not just wipe away the visible stain.
For small patches on hard surfaces, a bleach solution works well. Mix one cup of bleach with one gallon of water. Apply it with a sponge, let it sit for 15 minutes, then scrub clean. Rinse and dry fully.
Prefer a natural option? White vinegar kills most mold strains. Pour undiluted vinegar into a spray bottle, coat the area, and let it sit for an hour. Wipe clean and let it dry. Vinegar kills about 80 percent of mold species.
For stubborn patches, use a commercial mold cleaner with stronger fungicides that penetrate porous surfaces. Always follow label directions and ventilate the room well.
After cleaning, run a fan and a dehumidifier for two full days. The surface must be bone dry before you apply any primer.
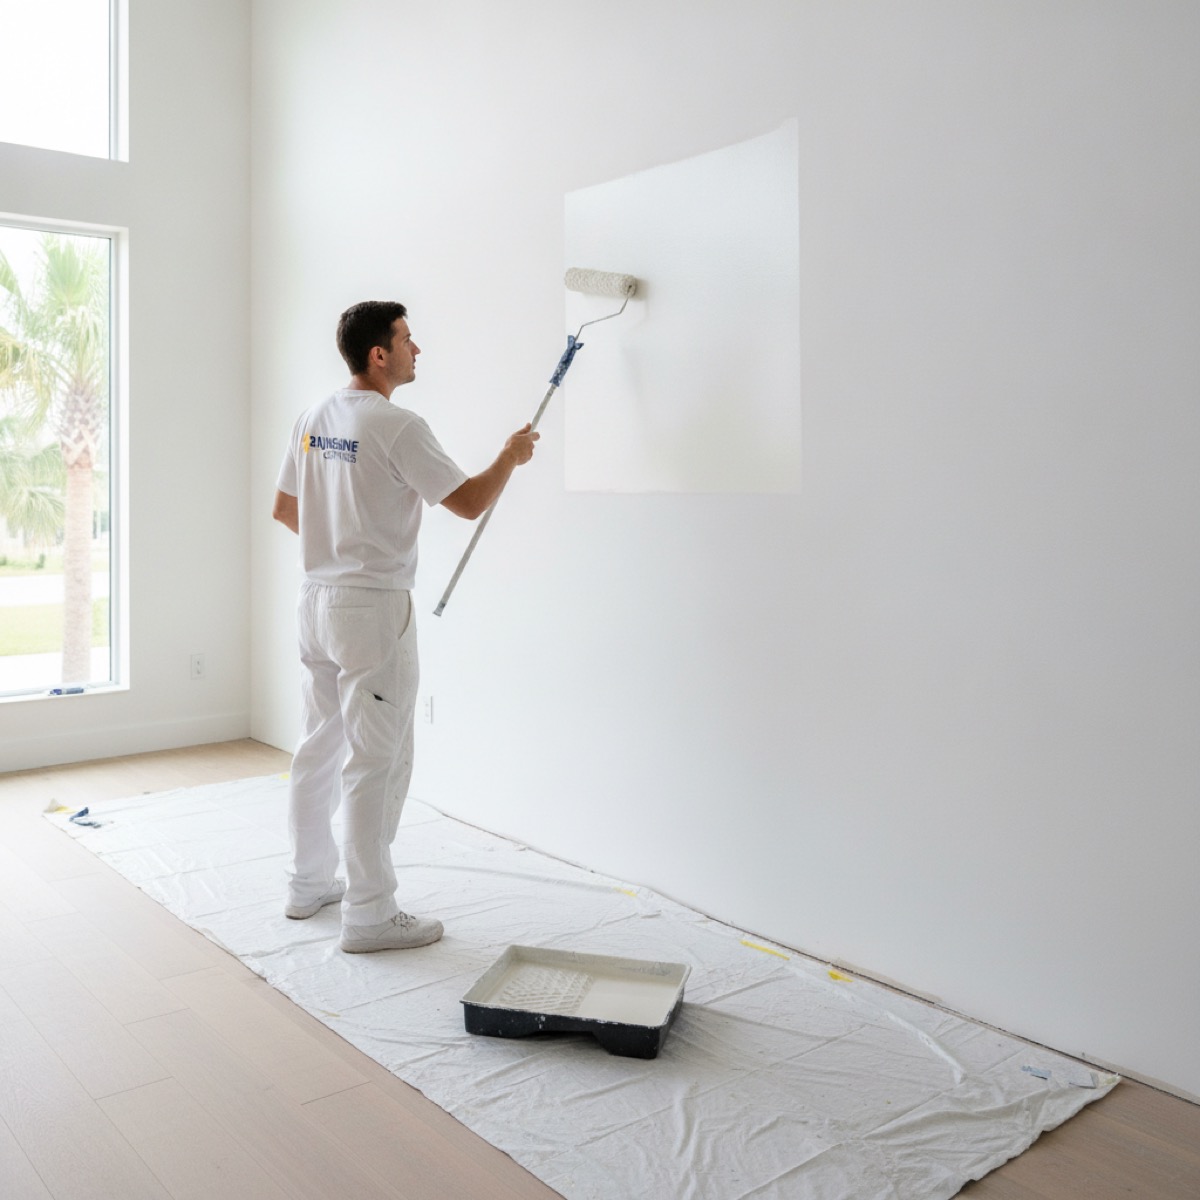
Using a Mold-Killing Primer Like Kilz
Once the surface is clean and dry, you need the right primer. A regular primer will not protect against future growth. Kilz mold is a popular choice - their mold-killing primer contains mildewcide that prevents mold on the primed surface and seals stain marks.
Apply the primer with a brush or roller in thin, even coats. Let it dry completely according to the can directions. Most mold-killing primers need two hours to dry and four hours before painting directly over them.
A good mildew primer does double duty. It seals the cleaned surface and creates a moisture barrier. That barrier is what prevents mold from coming back under your finish coat.
We always use a quality primer before any mold-related paint job. For a deeper look at primer options, check our guide on mold-resistant paint.
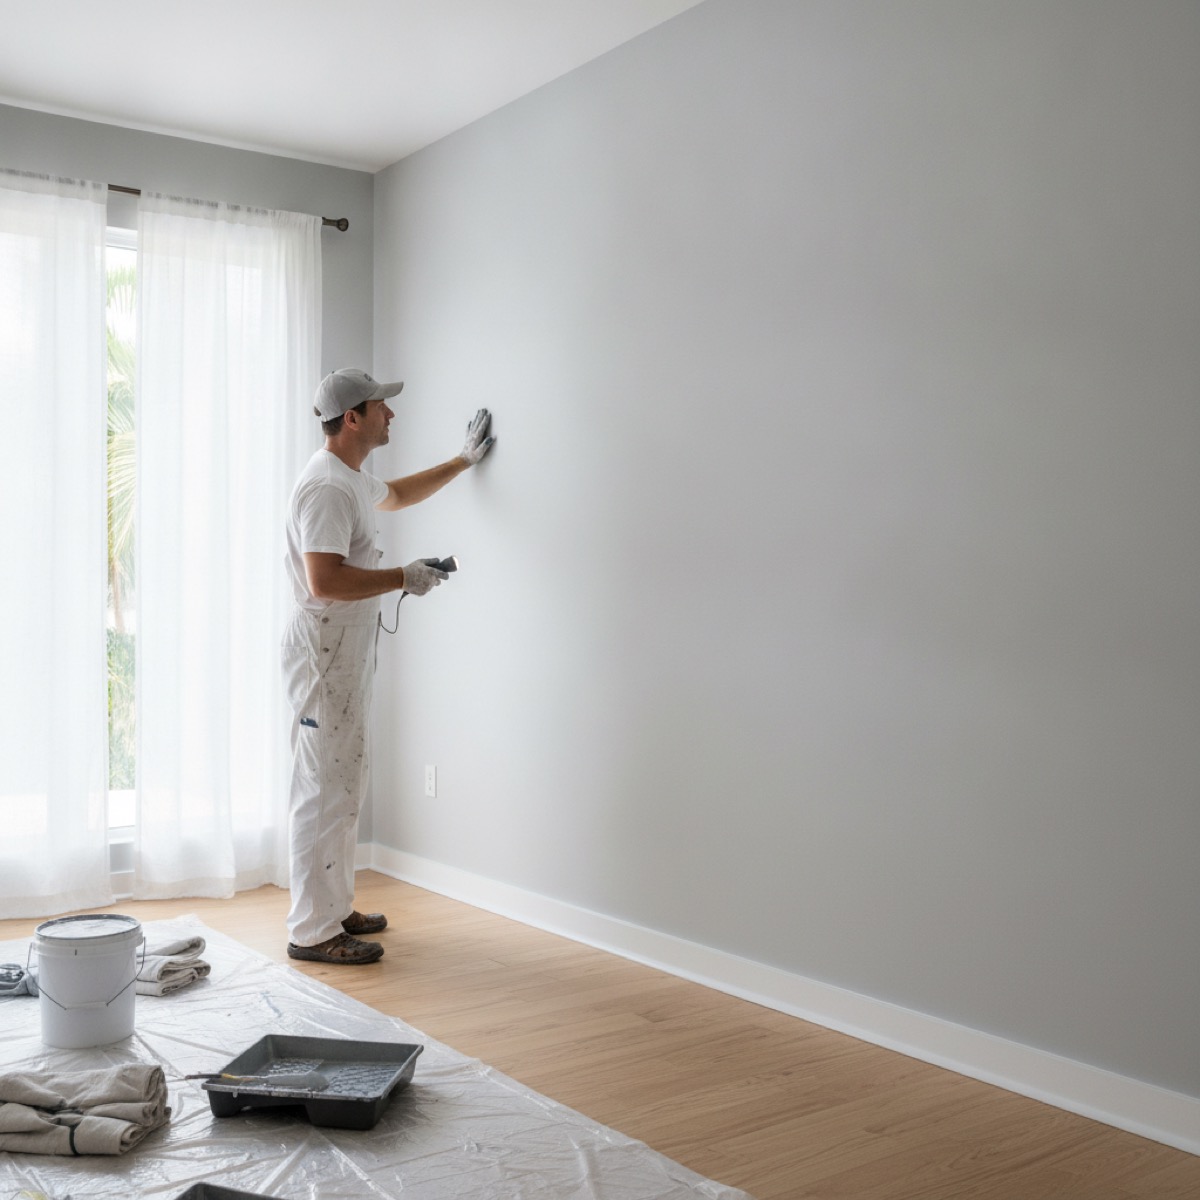
Choosing the Right Mold-Resistant Paint
After priming, you need a topcoat that resists future growth. Not all paint is equal. You want a paint mold-resistant formula made to fight mildew in humid environments.
Look for paint labeled as mold-resistant or mildew-resistant. These paints contain antimicrobial additives that slow growth on painted surfaces. They work best in bathrooms, kitchens, and laundry rooms.
For interior walls, a premium satin or semi-gloss latex works well. The slight sheen makes cleaning easier and resists moisture better than flat paint.
For your home's exterior, choose a Florida-tough paint rated for high humidity and salt air. Our exterior painting service uses UV-resistant coatings that hold up to sun, storms, and coastal moisture.
Remember this key point. Mold-resistant paint prevents mold, but it does not kill existing mold. You must clean and prime first. The paint is your final shield, not your first step.
Florida-Specific Mold Prevention Tips
Florida living comes with mold challenges no one in dry climates faces. Our humidity stays above 70 percent much of the year. Storms bring water damage. Salt air dampens exterior surfaces. Here is how we keep mold away for our clients.
- Run a dehumidifier in damp rooms from May through October. Keep indoor humidity below 50 percent.
- Use exhaust fans in every bathroom and the kitchen. Run them for 30 minutes after showers or cooking.
- Check your AC drain line monthly. A clogged line causes water backups that feed mold fast.
- Inspect around windows and doors after every storm. Seal any gaps where water can enter.
- Schedule annual pressure washing for your home's exterior. Our pressure washing service removes mold spores before they take hold.
- Paint with mold-resistant products in high-risk areas. Bathrooms and laundry rooms need extra protection.
- Vent your dryer properly to the outside. Never vent it into an attic or crawl space.
These steps keep your home dry and mold-free year round. A little prevention saves you from costly remediation. For more homeowner tips, browse our painting tips blog.
Mold on Your Walls? We Fix It the Right Way.
Our team cleans, primes, and paints mold-damaged walls for a lasting finish across Volusia County. Call us for a free estimate.
(386) 576-4730When to Call a Professional for Mold Remediation
Some mold problems are fine for a handy homeowner. A small patch on a bathroom ceiling? You can clean and paint that yourself. Larger issues need professional help.
Call a pro if you see any of these signs:
- Mold covers more than 10 square feet. Large areas require containment and proper removal.
- The mold keeps coming back. You have a hidden moisture problem.
- You smell musty odors but see no mold. The growth may be inside walls.
- Someone in your home has health symptoms. Do not risk exposure during cleanup.
- Water damage soaked drywall. Mold grows fast in wet walls.
Professional mold remediation includes containment, HEPA filtration, and safe disposal of contaminated materials. Pros find the hidden moisture source feeding the growth. This stops the cycle for good.
Once remediation is done, we step in to restore your walls. We prime, paint, and finish to make your home look pristine again.
Call us at (386) 576-4730 if you need help assessing a mold issue. We serve Volusia County with honest advice and quality workmanship.
Frequently Asked Questions
Let JPL Painting Restore Your Walls
Mold is stressful. We understand. Our team at JPL Painting helps Volusia County homeowners fix mold-damaged walls and get a clean, lasting finish. We follow every step - cleaning, priming, and painting - with meticulous care. Clean. Precise. On Time.
Ready to transform your walls? Call us today at (386) 576-4730 or visit our homepage to request a free estimate. Let us give your home the flawless, mold-free finish it deserves.