
Last Updated: August 9, 2026
Painting textured walls can feel overwhelming. Whether you are dealing with knockdown, orange peel, or swirl pattern on drywall throughout your New Smyrna Beach home, the right preparation makes all the difference. At JPL Painting, we know what it takes to get smooth, even coverage on any wall texture. Call us at (386) 402-1122 for a free estimate.
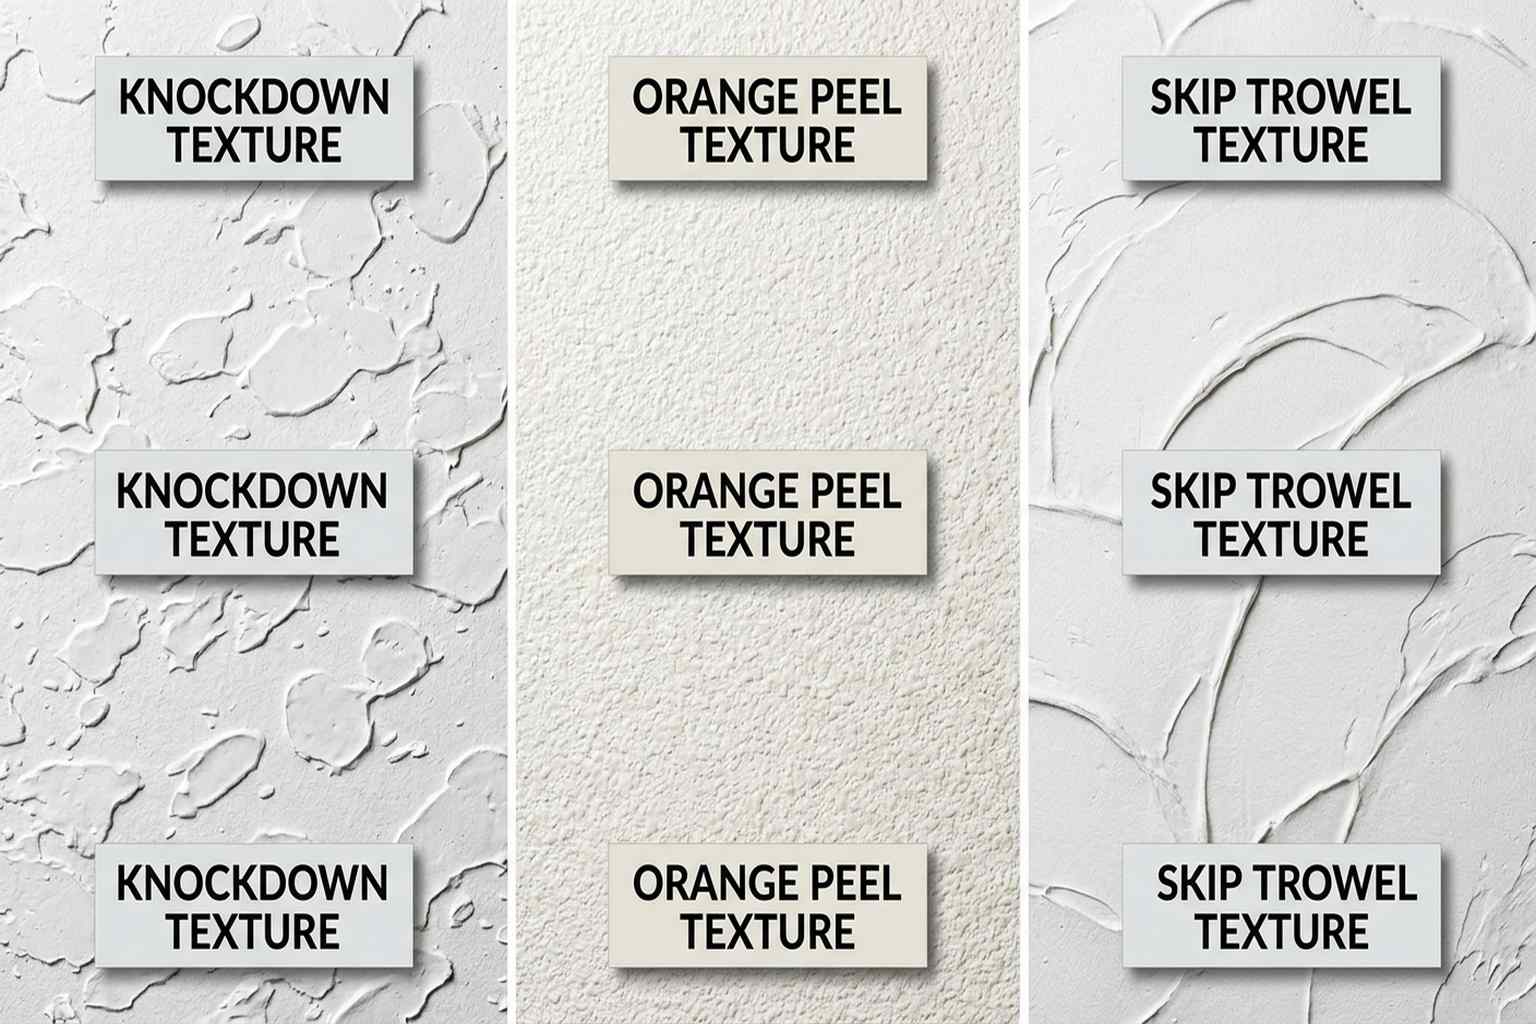
Table of Contents
What You Will Learn
- What Is Wall Texture?
- Tools and Materials You Need
- Preparing Textured Walls for Paint
- Choosing the Right Primer for Textured Surfaces
- Best Paint Types for Textured Walls
- How to Paint Textured Walls Step by Step
- Common Mistakes to Avoid
- When to Smooth Out Textured Walls Instead
- FAQ: Painting Textured Walls
What Is Wall Texture?
Wall texture refers to the intentional patterns and raised surfaces applied to drywall before painting. Builders and painters use drywall mud and joint compound to create these textures, which range from subtle to dramatic. Understanding your specific wall texture helps you pick the right approach for painting textured surfaces.
Common Types of Wall Texture
- Knockdown texture - Drywall mud is sprayed on and then partially flattened with a trowel, creating flat plateaus with valleys between them. This is one of the most popular textures in Florida homes.
- Orange peel - A fine, bumpy texture that resembles the skin of an orange. It is applied with a spray rig and left untouched. Common in newer construction.
- Skip trowel - Joint compound is applied with a curved trowel in sweeping arcs, creating wide, random patterns. Popular in Mediterranean-style homes.
- Swirl - Drywall mud is worked in circular patterns using a brush or trowel. Often found in older homes throughout Volusia County.
- Popcorn (acoustic) - Thick, bumpy texture originally designed for sound dampening. Common on ceilings but sometimes found on walls in older properties.
Each wall texture type requires slightly different painting techniques, which we cover in the sections below.
Tools and Materials You Need
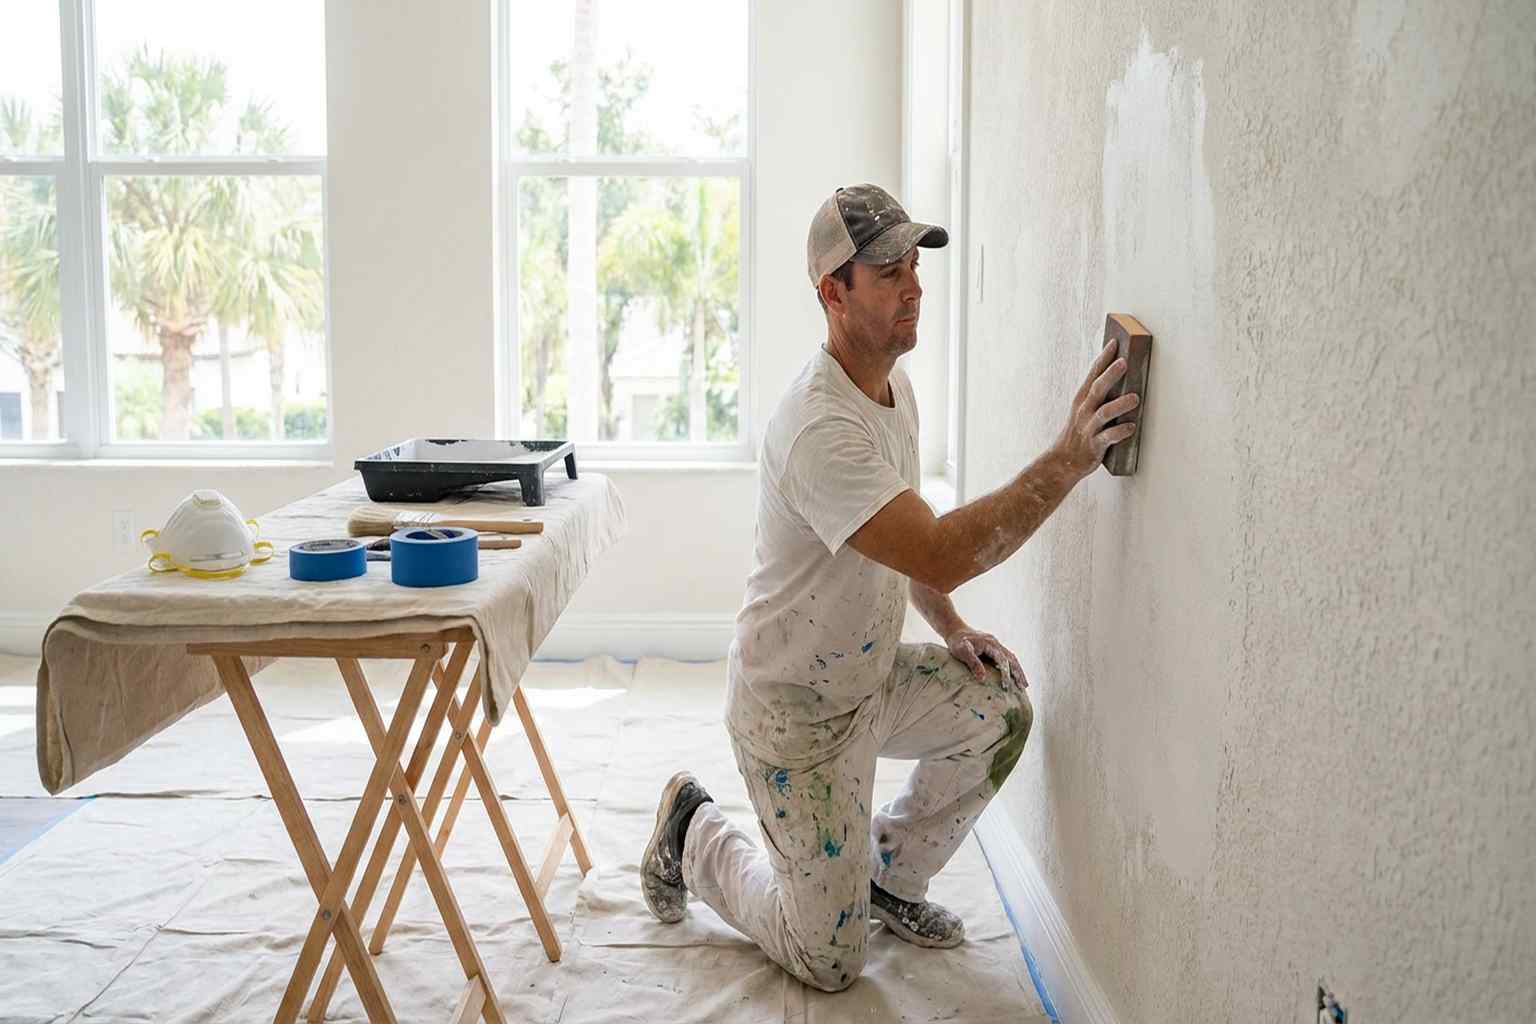
Having the right tools on hand before you start saves time and prevents frustration. Textured surfaces demand specific equipment that differs from painting smooth walls.
Essential Tools
- Thick-nap roller cover - 3/4 inch to 1-1/4 inch nap for most textures; use 1-1/4 inch for deep knockdown or popcorn
- Angled sash brush - 2 to 2-1/2 inch for cutting in corners and edges
- Roller frame - Standard 9-inch frame with extension pole
- Paint tray and liner - Or a 5-gallon bucket with a roller screen for larger rooms
- Painter's tape - Blue or green edge-locking tape for protecting trim
- Drop cloths - Canvas preferred over plastic for textured wall prep
- Sanding sponge - Medium grit for smoothing rough spots without flattening texture
- Tack cloth - For removing dust after sanding
Materials
- Primer - High-build or stain-blocking primer formulated for textured surfaces
- Interior paint - Flat, eggshell, or satin finish (more on choosing below)
- Joint compound - For repairing damaged texture before painting
- Caulk - Paintable silicone or latex caulk for gaps along trim
You can find quality painting supplies at local hardware stores in New Smyrna Beach, or let our team at JPL Painting bring professional-grade materials directly to your home. Call (386) 402-1122 to schedule your project.
Preparing Textured Walls for Paint
Proper preparation is the single most important step when painting textured walls. Skipping prep leads to uneven coverage, peeling, and a finish that highlights every imperfection in the wall surface.
Step 1: Clean the Walls
Dust and grime settle into the crevices of textured surfaces more than on smooth walls. Use a vacuum with a brush attachment to remove loose dust, then wipe the walls with a damp sponge and mild dish soap. Pay extra attention to areas near the ceiling and baseboards where dust collects. Allow walls to dry completely before moving on.
Step 2: Repair Damaged Texture
Inspect the wall for chips, cracks, or areas where the skim coat has worn away. Use joint compound to patch these spots. For knockdown texture, apply compound lightly and tap it with a flat trowel to match the surrounding pattern. For orange peel, use a spray texture patch in a can, available at most home improvement stores. Let repairs dry for 24 hours.
Step 3: Sand Rough Spots
Run a medium-grit sanding sponge gently over any areas where the texture is sharp or crumbling. The goal is not to remove the texture entirely but to knock down loose pieces and smooth any ridges that would show through the paint. Wipe away dust with a tack cloth.
Step 4: Tape Off Edges
Apply painter's tape along baseboards, window trim, door frames, and the ceiling line. Press the tape firmly into the texture using a putty knife to ensure paint does not seep underneath. On heavily textured walls, run a thin bead of caulk along the top edge of the tape where it meets the wall for a crisper line.
Choosing the Right Primer for Textured Surfaces
Primer is not optional on textured walls. The uneven surface creates thousands of tiny crevices that bare paint cannot fill properly. A quality primer seals the surface, provides uniform adhesion, and reduces the number of topcoats you need.
Best Primer Options
- High-build primer - These thicker primers fill minor imperfections and level out the wall surface slightly. Ideal for knockdown and skip trowel textures.
- Stain-blocking primer - If you are painting over water stains, smoke damage, or dark colors on textured walls, a stain-blocking primer like Kilz or Zinsser BIN prevents bleed-through.
- Bonding primer - When painting over glossy or oil-based paint on textured surfaces, a bonding primer ensures the new paint adheres properly.
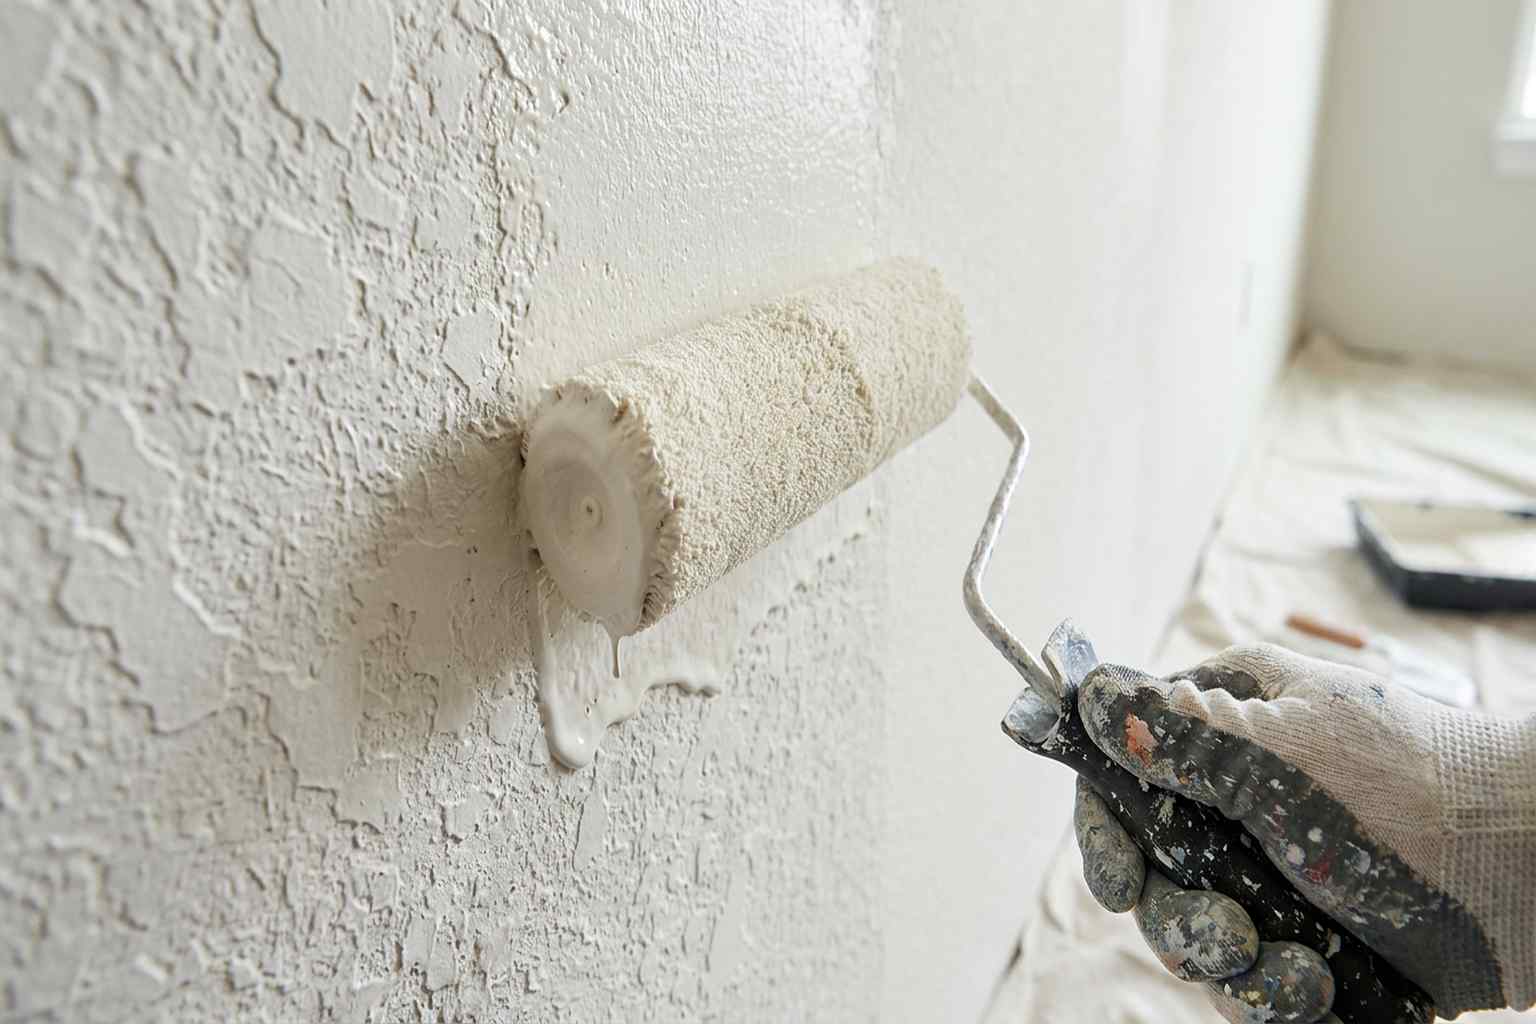
Apply primer with the same thick-nap roller you will use for the paint. Work in 3-foot sections, rolling in a W pattern to push primer into every crevice. Allow the primer to dry according to the manufacturer's instructions, typically 2 to 4 hours.
Best Paint Types for Textured Walls
The paint finish you choose has a bigger impact on textured walls than on smooth ones. The wrong sheen can make texture look worse by casting shadows into every bump and groove.
Flat Paint
Flat paint absorbs light, which softens the appearance of texture. It is the most forgiving finish for textured walls because it minimizes the visual impact of bumps and uneven spots. The tradeoff is that flat paint is harder to clean and may show scuff marks more easily.
Eggshell Paint
Eggshell offers a slight sheen that is easier to clean than flat while still minimizing the look of texture. It is the most popular choice for textured walls in living rooms, bedrooms, and hallways. For Florida homes dealing with humidity, eggshell provides a good balance between appearance and durability.
Satin Paint
Satin has more sheen than eggshell, which makes it more washable but also more likely to highlight texture imperfections. Use satin on textured walls in high-traffic areas like kitchens, bathrooms, and kids' rooms where cleanup matters more than hiding every bump.
How to Paint Textured Walls Step by Step
This is where the actual painting happens. Follow these steps carefully to get professional-looking results on any wall texture.
Step 1: Cut In the Edges
Start by cutting in along the ceiling, baseboards, and corners using a 2-1/2 inch angled brush. On textured walls, press the brush firmly enough to work paint into the texture. Use a steady hand and keep a wet edge. Cut in one wall at a time so the roller paint blends with the brushed paint before drying.
Step 2: Roll the First Coat
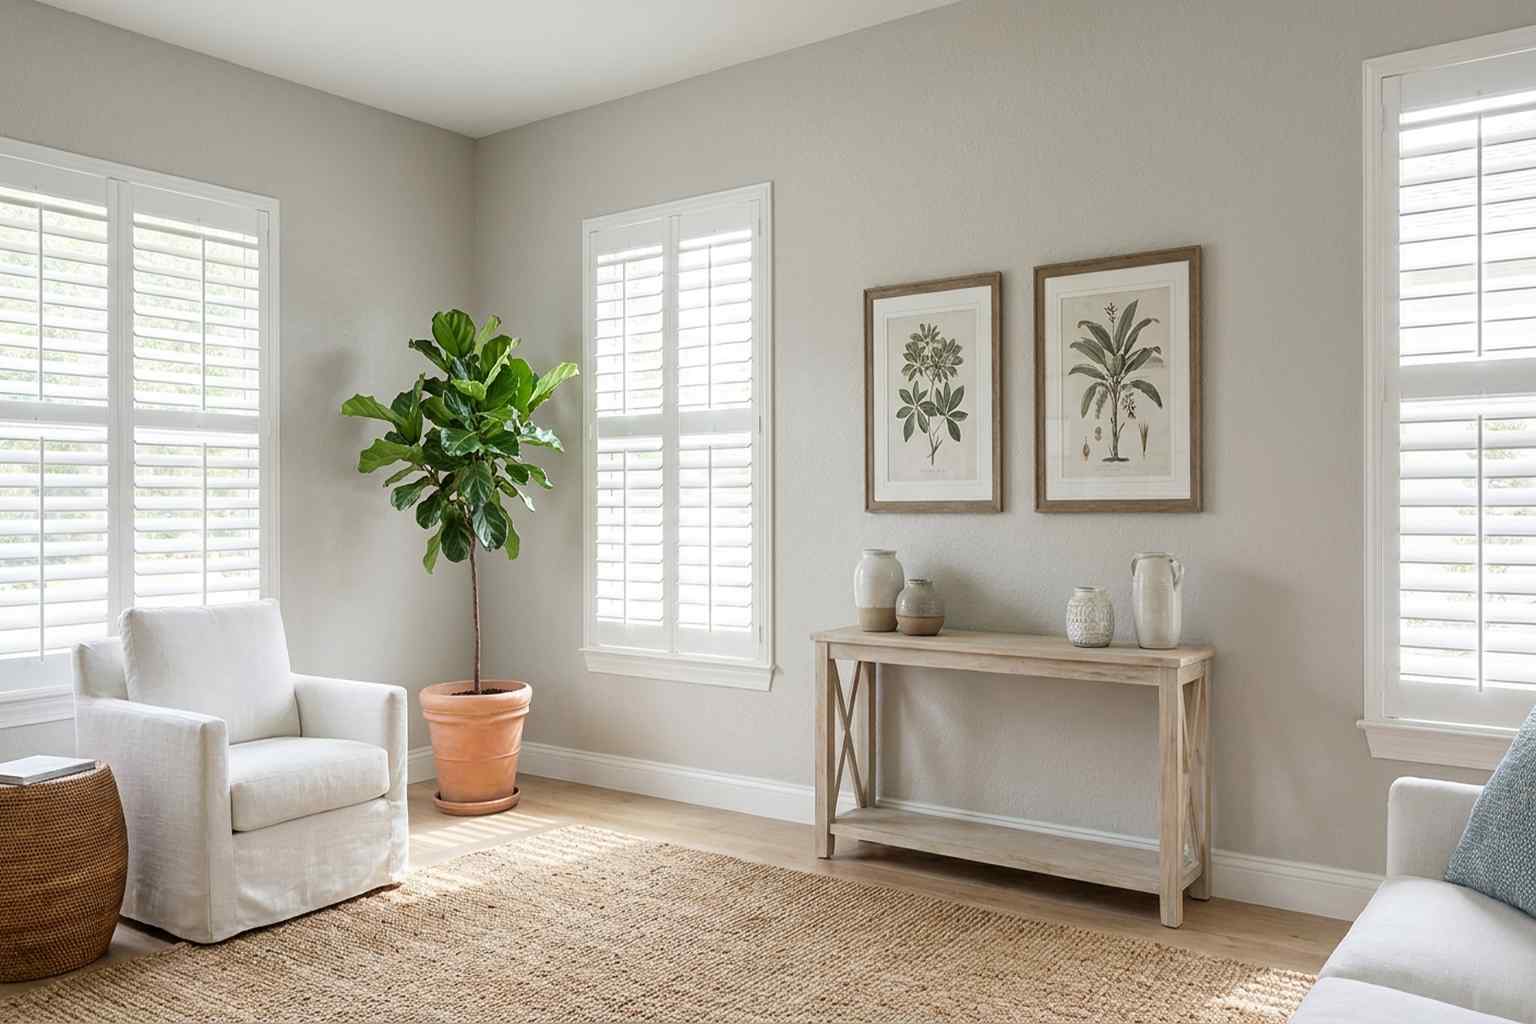
Load your thick-nap roller generously with paint. Start about 6 inches from the bottom of the wall and roll upward in a W or V pattern covering a 3-foot by 3-foot section. The W pattern ensures even distribution across the textured surface. After filling in the W, roll over the area again from top to bottom in long, overlapping strokes to smooth out the paint and push it into every pocket of the wall texture.
Step 3: Work in Sections
Continue cutting in and rolling one wall at a time. Maintain a wet edge by overlapping each new section with the previous one before it dries. Textured walls dry faster than smooth ones because the increased surface area exposes more paint to air. In the Florida heat, you may need to work quickly or use a paint extender additive.
Step 4: Apply the Second Coat
Most textured walls need two coats of paint. The first coat seals the primer and fills the texture, while the second coat provides the full, even color. Wait the recommended dry time between coats, usually 2 to 4 hours for latex paint. Apply the second coat using the same rolling technique.
Step 5: Inspect and Touch Up
After the second coat dries, inspect the wall from multiple angles using a bright work light. Textured walls are notorious for hiding thin spots in their shadows. Touch up any areas where the paint looks thin or the texture shows through using a small brush or the edge of your roller.
Common Mistakes to Avoid
Even experienced painters can run into problems on textured surfaces. Here are the pitfalls to watch for.
Using the Wrong Roller Nap
A short-nap roller on textured walls leaves unpainted pockets in the deeper areas of the texture. Always use at least a 3/4 inch nap roller, and go up to 1-1/4 inch for heavy knockdown or popcorn texture. The extra nap length pushes paint into every crevice.
Skipping Primer
Painting textured walls without primer guarantees patchy coverage and potential adhesion failure. The textured surface has more area to cover than a smooth wall, and primer creates the bonding layer that keeps paint from peeling.
Pressing Too Hard
When rolling, let the roller do the work. Pressing too hard squeezes paint out of the roller and leaves thin, uneven coverage. It can also flatten the texture, creating visible smooth spots.
Painting in Direct Sunlight
In New Smyrna Beach, the heat and sunlight can cause paint to dry too quickly on textured surfaces. This leads to lap marks and uneven sheen. Paint interior walls during cooler parts of the day, and close blinds on sun-facing windows while you work.
Using the Wrong Brush
Stiff brushes can damage delicate texture patterns. Use a medium-stiffness angled brush for cutting in, and avoid dragging bristles aggressively across textured surfaces.
Need Help Painting Your Textured Walls?
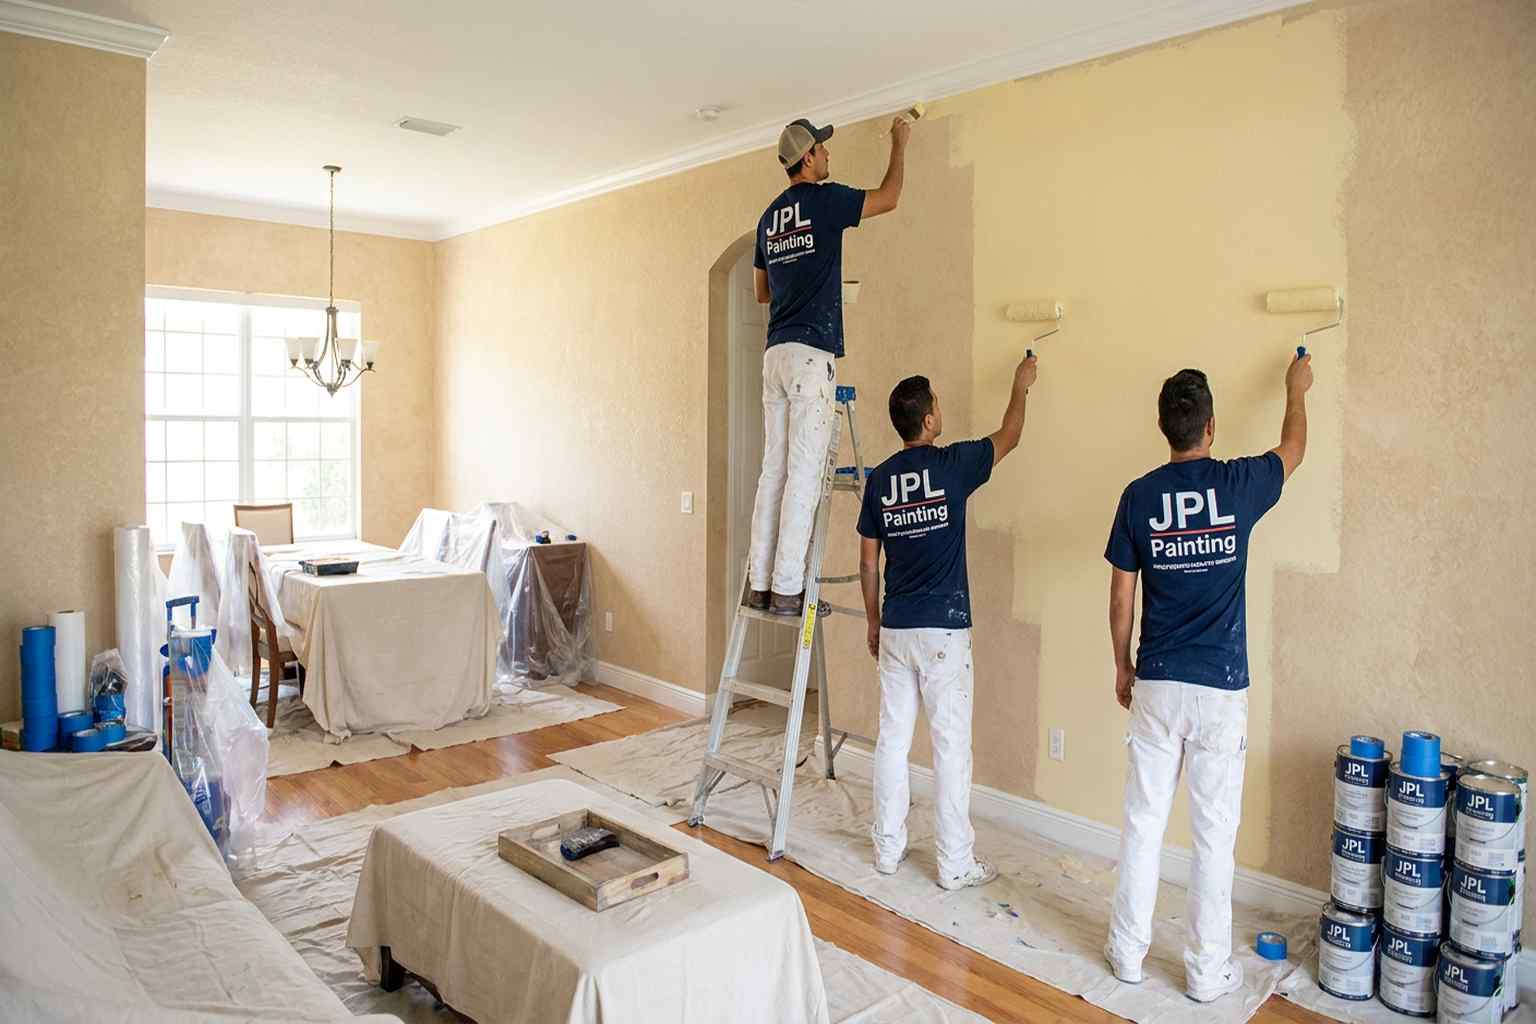
JPL Painting serves homeowners across New Smyrna Beach, Edgewater, Port Orange, and all of Volusia County. Our team has the experience and tools to handle any wall texture.
(386) 402-1122When to Smooth Out Textured Walls Instead
Sometimes painting over texture is not the best option. If your wall texture is severely damaged, inconsistently applied, or you simply dislike the look of textured walls, you may want to smooth them out first.
Skim Coating
Skim coating involves applying a thin layer of joint compound over the entire wall to create a flat surface. This process requires skill and patience but results in a perfectly smooth wall ready for any paint finish. A professional skim coat typically takes 2 to 3 coats of compound with sanding between each.
Removing Texture
For popcorn texture, scraping may be the most efficient removal method. Wet the texture lightly and scrape it off with a wide putty knife. Always test for asbestos before removing popcorn texture in homes built before 1980. Knockdown and orange peel textures are harder to remove and are usually better handled by skim coating over them.
If you are unsure whether to paint your textured walls as-is or smooth them first, the team at JPL Painting can assess your walls and recommend the best approach. We offer both textured wall painting and popcorn ceiling removal services throughout New Smyrna Beach and Volusia County.
Frequently Asked Questions
Yes, you can paint over textured walls without removing the texture. The key is using the right primer, a thick-nap roller, and the proper technique to push paint into every crevice. Most textured walls need two coats of paint after primer for full, even coverage. Skipping primer or using a short-nap roller will leave thin spots and unpainted pockets in the deeper areas of the texture.
Flat or eggshell paint finishes work best on textured walls because they minimize the appearance of bumps and grooves. Flat paint absorbs light and softens texture the most, while eggshell provides a slight sheen that is easier to clean. Satin and semi-gloss finishes reflect more light, which can make texture look more pronounced and uneven.
Textured walls almost always need two coats of paint after primer. The first coat fills in the texture and provides base coverage, while the second coat delivers full, even color. In some cases with dramatic color changes or deep texture, a third coat may be necessary. Always allow proper dry time between coats.
Use a roller cover with 3/4 inch to 1-1/4 inch nap for textured walls. Lighter textures like orange peel work well with 3/4 inch nap, while heavier knockdown or swirl textures need 1 inch or more. The longer nap pushes paint into the valleys of the texture. Avoid short-nap rollers, which leave unpainted pockets in the surface.
Patchy texture after painting usually means the paint did not reach all the crevices. You can fix this by applying another coat with a thicker-nap roller, pressing the roller firmly enough to push paint into the low spots. If patchiness persists, a spot primer on the thin areas followed by a full coat will resolve it. Sometimes the issue is primer that was applied too thin, so adding a second coat of primer before repainting solves the problem.
It depends on your goals. Painting is faster and less expensive, and textured walls can look great with the right paint finish. Removing or smoothing texture is more labor-intensive but gives you a flat surface that works with any paint sheen. If the texture is in good condition and you like the look, painting is the practical choice. If the texture is damaged, uneven, or you prefer smooth walls, skim coating or removal may be worth the investment.
Ready to transform your textured walls with professional results? JPL Painting serves homeowners across New Smyrna Beach, Edgewater, Port Orange, and all of Volusia County. Call (386) 402-1122 for a free estimate on your next painting project.