You noticed it this morning — small raised bubbles marring an otherwise smooth wall. Maybe they appeared after a rainstorm, or maybe they showed up weeks after you painted. Whatever the timing, paint bubbling on a wall is one of the most common paint problems Florida homeowners face, and it always means the paint film has lost adhesion.
The good news: every paint bubble has a cause, and every cause has a fix. In this guide, the team at JPL Painting breaks down exactly why paint bubbles on walls, how to repair it the right way, and what makes New Smyrna Beach homes especially vulnerable. If you're also wondering how long paint takes to dry or the best temperature to paint outside, those guides have you covered.
What's Inside
What Is Paint Bubbling?
Paint bubbling — also called blistering — happens when the paint film lifts away from the surface underneath. It can look like small pinpoint blisters or large raised patches, and it can happen on interior walls, exterior siding, ceilings, and trim.
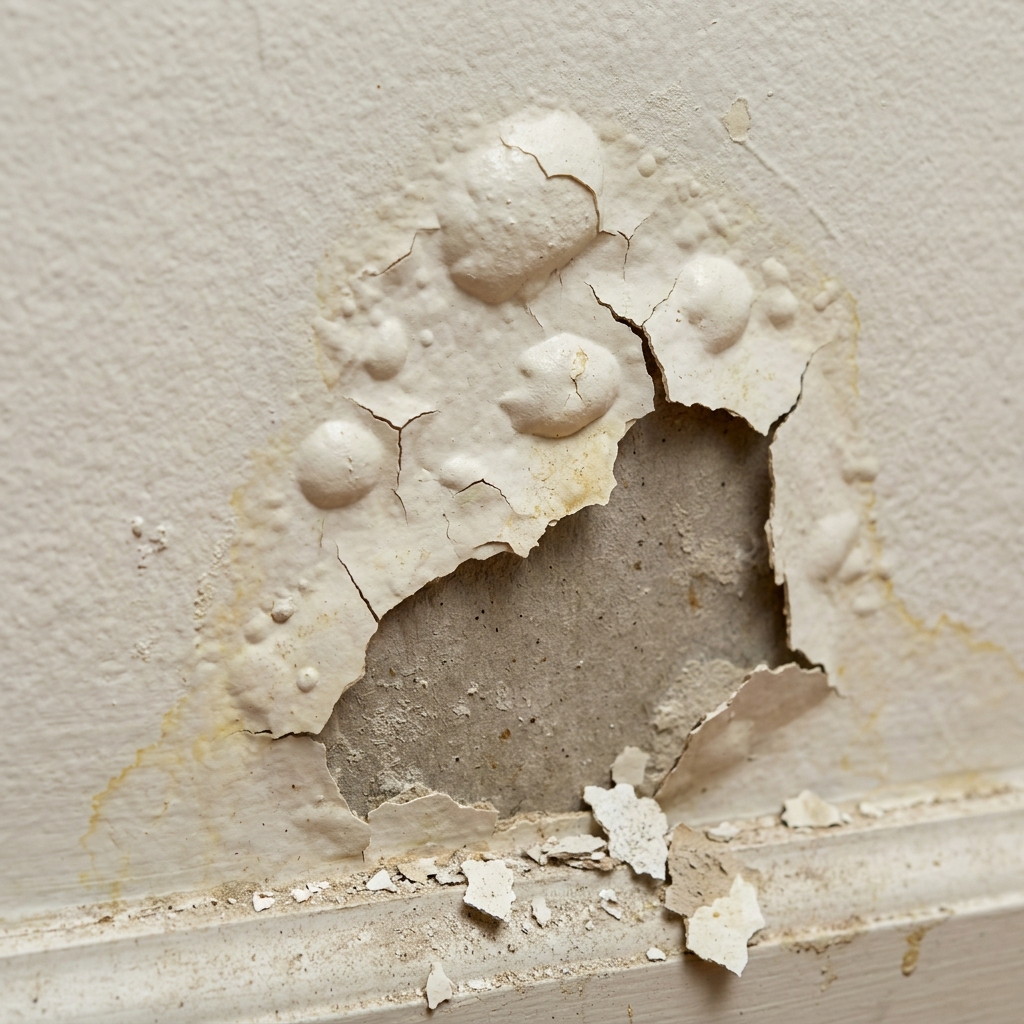
The bubble itself is a symptom, not the disease. Something underneath pushed the paint up — usually moisture, trapped air, or a contamination layer that prevented proper adhesion in the first place. Identifying which one is the key to a permanent fix.
🫧 See Bubbles? Don't Paint Over Them
Painting over bubbled paint never works — the new coat simply fails again. JPL Painting diagnoses the cause first, then fixes it right the first time.
Get a Free EstimateMoisture — the #1 Cause of Paint Bubbling
Moisture is responsible for up to 70% of all paint bubbling issues. Water gets behind the paint film and pushes it off the wall. In Florida, this is especially common because of:
- High humidity — Summer humidity in Volusia County regularly hits 80–90%, trapping moisture in walls
- Rain and storms — Heavy tropical downpours saturate exterior surfaces faster than they can dry
- Condensation — Temperature swings between air-conditioned interiors and hot exteriors create condensation inside walls
- Plumbing leaks — Slow leaks behind drywall are invisible until the paint starts bubbling. If you see water damage, our drywall repair service can help.
- Bathroom and kitchen steam — Poor ventilation lets moisture seep into the paint film day after day
Cut open a bubble with a utility knife. If you see bare drywall or substrate underneath, moisture is the cause — the water pushed all the way through the paint layers. If the bubble only goes down to an earlier coat of paint, the issue is likely poor surface prep or incompatibility between paint types.
Poor Surface Preparation
The second most common cause is skipping surface prep. Paint needs a clean, dry, properly primed surface to bond to. When any of these conditions are missing, adhesion fails and bubbles form.
- Dirty or greasy walls — Dust, cooking grease, hand oils, and soap residue all prevent paint from bonding. Even a thin invisible film is enough to cause failure.
- Painting over old, failing paint — If the existing paint is already compromised (chalky, peeling, or glossy), new paint will lift right off with it.
- Skipping primer — Primer creates the adhesive bridge between the wall and the finish coat. Without it, latex paint on bare drywall or patching compound will bubble within weeks.
- Insufficient drying time — Applying a second coat before the first is fully dry traps solvent and moisture, creating bubbles that appear days or weeks later.
Paint Application Errors
Even with clean walls and proper primer, application mistakes can introduce bubbles:
- Rolling too fast — Whipping the roller introduces air into the paint film, creating tiny bubbles that dry in place.
- Overloading the roller — Too much paint on the roller means thicker coats that trap solvent as they dry.
- Wrong roller nap — A nap that's too long for the surface texture pushes excess paint into ridges that blister.
- Latex over oil-based paint — Water-based latex cannot bond to oil-based surfaces without a bonding primer. The result? Bubbles that appear within hours or days.
- Painting in direct sunlight — The surface heats up and dries the top of the paint film before the bottom, trapping solvent vapor underneath.
🎯 The Right Application Makes All the Difference
JPL Painting uses the correct roller nap, proper drying times, and quality primers for every project. Call (386) 576-4730 for a free estimate.
Call (386) 576-4730Why Florida Homes Are Especially Vulnerable
If you live in New Smyrna Beach, Edgewater, or anywhere along the Volusia County coast, your walls face conditions most homeowners never think about:
- Year-round humidity — Florida averages 70%+ humidity for 8 months of the year. Paint takes longer to dry, and moisture is always trying to push through.
- Hurricane-season rain — Driving rain from June through November saturates exterior surfaces. If any crack or gap exists, water finds its way behind the paint.
- Salt air — Coastal homes in New Smyrna Beach and Ponce Inlet deal with salt-laden air that degrades paint binders faster than inland locations.
- AC temperature swings — Interior walls that are 72°F inside and 95°F outside create constant expansion and contraction that stresses the paint film.
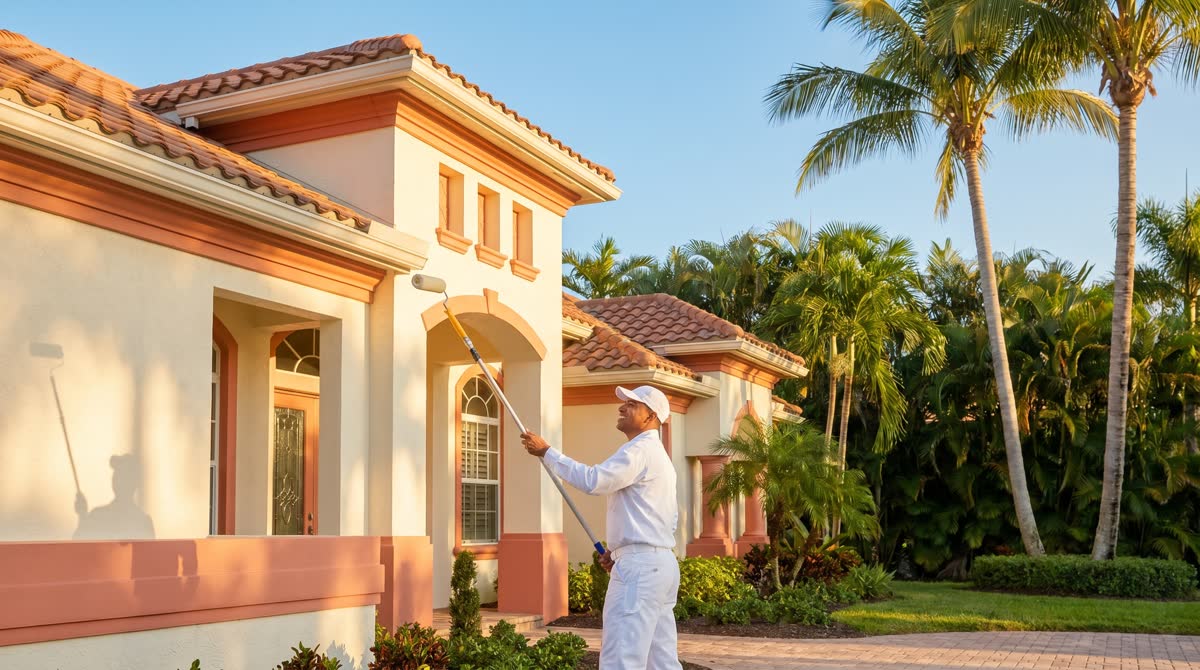
For Florida homes, always choose 100% acrylic latex exterior paint with UV-resistant pigments and mildewcide. These formulations handle humidity, UV exposure, and salt air better than standard latex. JPL Painting uses premium products specifically rated for Florida's coastal climate.
How to Fix Paint Bubbling on Walls
Fixing paint bubbles the right way means removing the damaged paint, addressing the root cause, and repainting properly. Here's the step-by-step process:
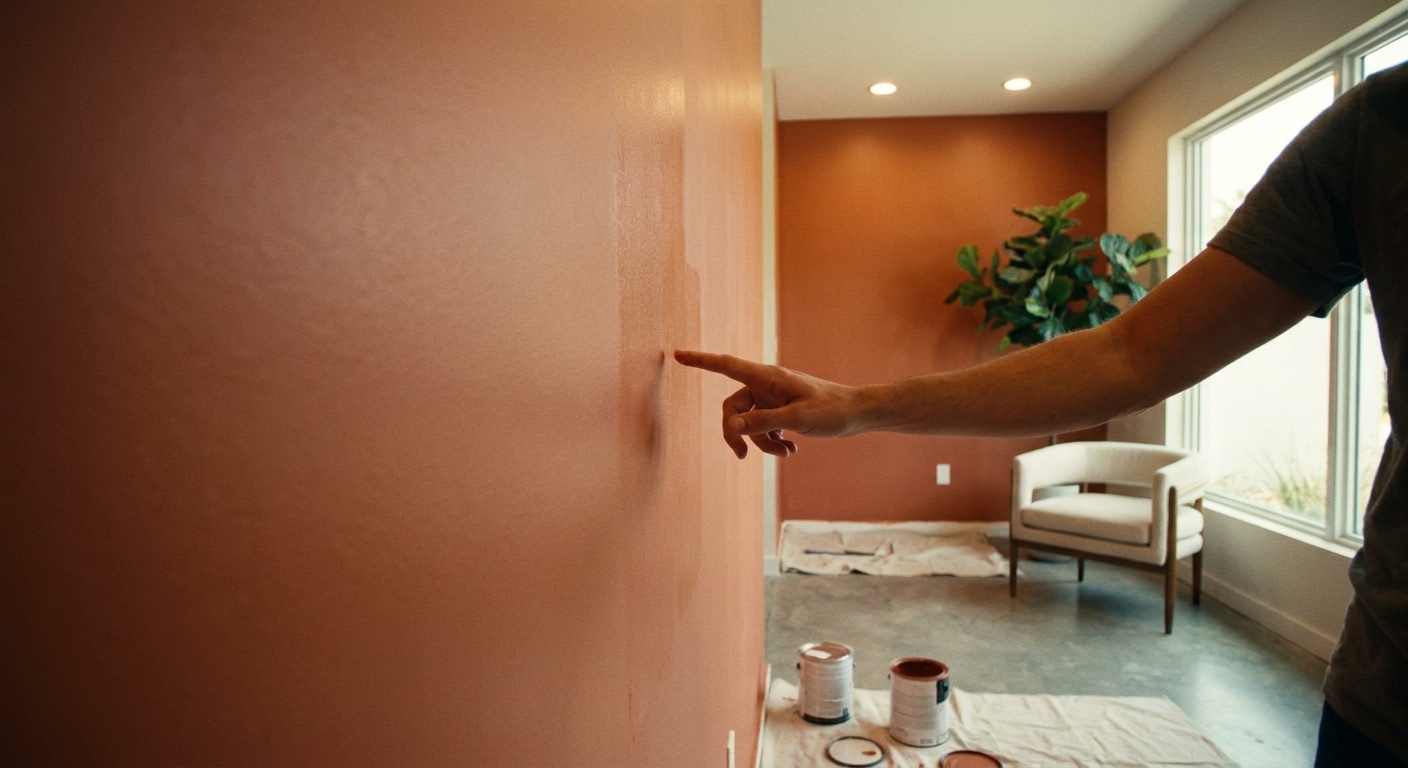
Step 1: Identify the Cause
Before touching the wall, figure out why the paint bubbled. Check for leaks, feel for dampness, and use the bubble test (cut one open — bare substrate means moisture, earlier paint layer means prep or compatibility). Fix any plumbing leaks or ventilation problems first.
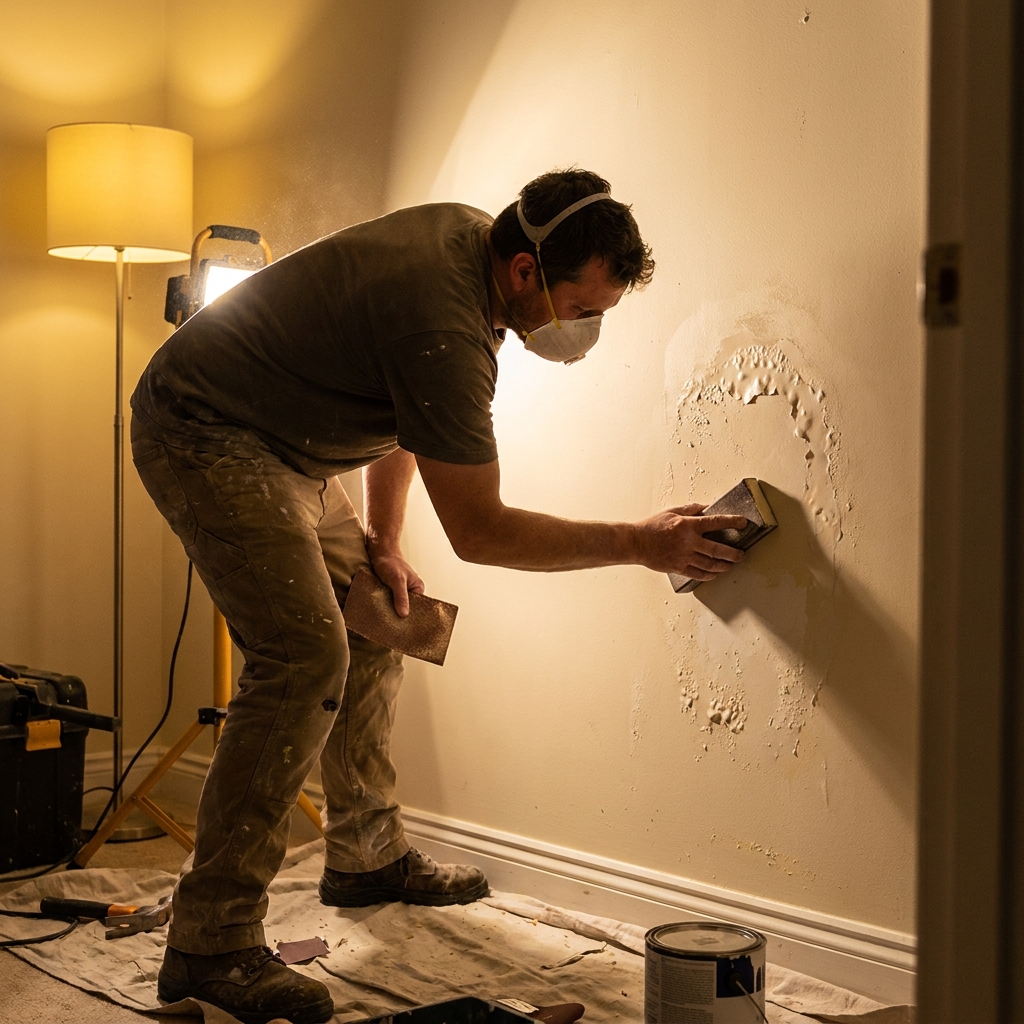
Step 2: Remove the Bubbled Paint
Use a putty knife or paint scraper to remove all loose, bubbled, and blistered paint. Work outward from each bubble — if the paint lifts easily, keep going. Sand the edges smooth with 120-grit, then 180-grit sandpaper until the transition between painted and bare areas is seamless.
Step 3: Patch and Prime
Fill any depressions or holes with spackle or joint compound. Let it dry completely, then sand smooth. Apply a high-quality stain-blocking primer over all bare areas — this is critical in Florida, where humidity can cause new bubbles within hours of bare drywall exposure. For moisture-damaged areas, use a shellac-based or oil-based stain-blocking primer.
Step 4: Repaint
Once the primer is fully dry (follow manufacturer's drying time — in Florida humidity, this may take longer than the label says), apply two coats of premium 100% acrylic latex paint. Use the correct roller nap for your wall texture, and avoid painting in direct sunlight or when humidity exceeds 85%.
🏠 Not a DIY Project? We've Got You Covered
Paint bubble repair requires patience and the right materials. JPL Painting handles it all — from moisture diagnosis to flawless repainting. Whether you need interior painting or exterior painting, we serve New Smyrna Beach and all of Volusia County.
Get a Free EstimatePaint Bubbling Prevention Checklist
Whether you're painting yourself or hiring a professional, use this checklist to keep bubbles from coming back:
- ✅ Fix all moisture sources — Repair leaks, upgrade exhaust fans, seal exterior cracks
- ✅ Clean walls thoroughly — TSP or degreaser, then rinse and let dry completely
- ✅ Prime bare surfaces — Always use primer on bare drywall, patching compound, and bare wood
- ✅ Use quality paint — Premium 100% acrylic latex for Florida homes
- ✅ Respect drying times — Wait the full recommended time between coats, especially in high humidity
- ✅ Paint in the right conditions — 50–85°F, below 85% humidity, avoid direct sunlight
- ✅ Use the right roller nap — 3/8" for smooth walls, 1/2" for light texture, 3/4" for heavy texture
- ✅ Sand between coats — Light sanding with 220-grit improves adhesion for the next coat